
Leveling the floor: how to correctly measure the curvature and eliminate it yourself
Leveling the floor is one of the most time-consuming work during the repair. Moreover, it is not so much the work itself with leveling mixtures or the device lag, but with the determination of the zero floor level and the calculation of the necessary material for its leveling. Ever tried to figure it all out? In fact, everything is simple. The curvature of the floor is determined using several points of its level, which are compared with the control in relation to the floor itself. After you have determined the curvature of the floor, you need to beat off the level of the new on the walls. And only after that proceed to its device. And level the floors from the lowest point to the highest. And how exactly everything happens - now we will put it on the shelves.
Content
Which level to choose?
In the construction world, vast experience has already been gained in measuring the curvature of horizontal surfaces using laces, plumb bells and home-made water levels. And, as life shows, all the data obtained in this way are far from absolute accuracy. This can also be seen from the way old buildings collapse - basically, they have obvious problems with geometry. And therefore, in an era of apparent lack of free land in cities and ecologically clean regions, building a crooked house is extremely unreasonable. Which is to the advantage of modern manufacturers of construction equipment - they have developed tools that measure deviation from a strict horizontal to a hundredth of a millimeter.
Most of the products of this type are produced today by manufacturing companies Bosch, Dewalt, Ada and Skil. There are also other brands - and it is important to understand what one such device will be better than others. After all, this depends on how easily and accurately you can measure the curvature of the floor:
- Simplicity of construction. If you doubt that you can independently configure a complex mechanism, then give preference to a simple laser level in the form of a ruler.
- Price. For entire teams that are engaged in professional repairs, a high-quality multifunctional device for measuring the curvature of the floor is vital - and these are really justified costs. But for a person who just decided to start a repair in his house, and it is important for him to just make a good level floor, there is no point in doubling his estimate three times because of buying an expensive “toy”. It is enough to use budget analogs, or to invite a specialist with the necessary equipment for this specific task.
- Self leveling function. Such a tool creates an optical cross and finds the necessary horizontal and vertical positions itself, already without an additional rack level.
- Wall mounting. If you are going to measure only the curvature of the floor, then this function is unlikely to be used at all. On the contrary, if the level at all works only in the position on the wall, the range of its actions with the floor is extremely limited.
- Source. Some laser levels are powered by rechargeable batteries or batteries, and some have to be connected to the network, which is not always convenient - the house is just under construction, and there is no electricity, for example, in it yet.
In principle, you can use the "old-fashioned" methods of measuring the curvature of the floor - unless the area of the room is large, and you are going to level the floor under a carpet or linoleum. Then the errors invisible to the eye will not be noticeable either when walking or for furniture. But for laying expensive finish coatings or during the construction of the base, which should be perfectly smooth, such techniques are not suitable. In addition, modern laser and optical levels are much easier and faster to use than the same stretched threads. But let's look at everything that the construction fraternity uses today.

Rack and pinion levels
It is easy to determine a new floor level using a regular bubble level. The bubble level is the simplest hand tool that is most popular in construction. Usually it is 1 meter long, but a three-meter one is also used. Modern linear levels even have a digital display that accurately determines the degree of tilt of the horizontal floor surface.
Just attach a ruler with a bubble anywhere on any wall to the height that you plan to make a new floor. Then move it to the left and extend the line - and so on until your outline closes. By the way, the coincidence of the last line with the initial point will be evidence that the level you beat off correctly.
The principle of operation of such a level is this: on a horizontal surface, the bubble appears in the middle of the capsule, and on the uneven surface it goes to the part where the level is higher. Such a device is quite good for measuring the curvature of the floor in small rooms.
So, the advantages of the linear level:
- Cheapness
- Convenience
- Ease of use
- Application in any conditions
Disadvantages:
- Inability to measure large areas
- Low accuracy
- Bulkiness
- Physical labor, which also takes strength.
If the floor has a slope, then the resulting horizon line will diverge from the floor surface. Just use the bars and level them evenly:

If you suspect that the base of the floor in different places of the room is higher than against the walls, check: pull two threads from the corners of the room. By the proximity of the sex to them, you will determine the highest zones, from which you should repel.
Water level
But on large areas, a single line with a bubble will not be enough - you need to use at least the water level here. In fact, this device is a communicating Pascal vessels in the form of a flexible tube with graduated transparent flasks. Tinted water is poured inside, by which the evenness of the floor is determined. Just look: if the liquid at both ends is at the same level, then this device lies on an even horizon, but if the liquid does not coincide with the risks, then there is a curvature. By the way, you can make such a device yourself.
On the glass bulb itself there are several marks that allow you to accurately determine how offset the horizon is. And the more professional the water level, the more of these risks there.

Laser levels
Laser linear level - a device that, thanks to the presence of a horizontal line and a staff, allows you to measure the distance between the desired line and the floor surface itself. That is, if the data turns out to be the same, then the floor is fairly flat.
Benefits:
- Compactness
- Ease
- High measurement accuracy
The main disadvantage is the low operating range. But any person can work with a modern laser level, and independently. All that is needed is to place the device exactly on the eye, the internal incline sensor - the inclinometer - will build the plane itself exactly as the manufacturer indicates in the instructions. If it signals or does not work, it means that you placed it outside the alignment zone.
The operation of laser levels is based on the action of diodes, which form powerful light radiation. By displaying it on the walls, they take measurements of the highest accuracy that can only be achieved. In some laser levels, a magnetic damper is also built-in: if you accidentally touch the device, it will quickly drown out its own vibrations and it will be possible to continue working almost immediately.
Even the cheapest simple laser plane builders can be rotated 360 degrees without having to rearrange the tripod. You don’t have to worry about building dust and dirt: floor measuring devices are usually made of thick plastic and have rubber inserts that protect the interior.
If you marked the level of the new floor with dots around the entire perimeter, then simply connect them in one line, which will run along all the walls parallel to the ground.
Here's how to measure the floor curvature and level it:


Rotational levels
A rotational laser level is a device that projects a laser point onto a wall. During rotation, it turns into a line - horizontal or vertical, and then you are already working with a rail.
Rotational levels have a fairly complex internal mechanism, with a high speed of rotation of small LEDs. This allows you to project several parallel beams at once - and at any height.
Such models are manual, pendulum and electronic. Pendulum ones allow up to 5 measurements to be made simultaneously in different planes, while electronic ones can notice the slightest error at large distances - such devices are equipped with several sensors at once. There are also mixed types - both pendulum and electronic.
The range of rotation of the level is large, and the accuracy is high. The only drawback is the point measurement results, which are not enough. And the level works like this:

Optical Levels
The optical level is more often used outdoors, although it is suitable for measuring the curvature of the floor. Its operation and principle of operation is similar to that of a rotational laser, but the accuracy of the results over large areas is already higher. What are the advantages of this device, and the disadvantage is the fact that the hands of two workers are needed for measurement.
The cost of appliances for home use today ranges from 200 to 300 dollars, but professional models will cost you several times more. The most accurate today is considered to be a plane builder from Bosch.
Determine the height difference: step by step
To begin, let's learn how to determine the curvature of the floor using the usual rack-level ruler. This skill is invaluable, because you do not know where and in what conditions you will have to measure something.
So now step by step:
- Step 1. We put things in order in the room where we will work. No construction debris or foreign objects should be there - all this is a lot of obstacles to finding the exact height of the future screed.
- Step 2. Draw a line of the basic level along the walls - around the entire perimeter. It should be strictly parallel to the floor, for which we recommend that you use a modern laser level or simply create a line segment parallel to the floor through two points and continue along the walls until you connect it to the beginning.
- Step 3. Now we check from the base level the height of the floor in different parts of the room. So we will find the highest point of coverage, from which we will build on.
- Step 4. Now we raise the line (or draw a new one) so that it is exactly one meter above the highest point.
- Step 5. Next, draw the third line - the line of the finishing floor. It will be lower than the previous one by the value of such a formula: “100's (thickness of the future screed) =?”. For example, if the screed is planned to be 3 cm high, then you need to lower the level by 97 cm, and if 5 cm - then by 95 cm.
If you have a good device available, then measure the curvature of the floor with it.It is important to make the level setting correctly - this will provide the necessary accuracy in measuring the curvature. So, if it is possible to choose a specific scanning angle, then it is worth choosing, and not be content with the fact that the vertical beam for the ceiling seems to show an even line for the finishing floor. It is most convenient in this regard to work with those devices that have a self-tuning function.
So, here is how working with a laser level looks like:
- Step 1. We remove all dirt and debris from the floor to ensure the accuracy of the measurement results.
- Step 2. Install the device on the floor - preferably at the highest point on the floor.
- Step 3. We direct the beam along the wall.
- Step 4. Once the laser level is finally installed, begin to draw lines on all walls in a way that is convenient for you. How high or low the laser dot-lines are obtained is not important, they are not difficult to transfer to the desired height using a tape measure.
- Step 5. When you find the highest section of the floor, fasten the masking cord on it, and pull it with the other end to the level marks on the opposite and adjacent walls. If the cord is freely pulled in any direction - there are no bumps anywhere, and it is this point that can be taken as a reference point. If the cord stumbles upon something else - carefully examine this place, perhaps the protruding area is small and it makes sense to simply chop this ledge with a hammer and a chisel. If not, then move the highest floor point here.
- Step 6. Once we have decided on the highest section of the floor, we raise the point by 5 cm - this is the mark of the future screed. Or even simpler: raise by 100 cm, i.e. to the height of the whole rule, mark on the walls and lower the lines exactly 95 cm.
Tip: it is not safe to look at the laser from the levels for the eyes - be sure to wear special glasses. Usually they come with a level.

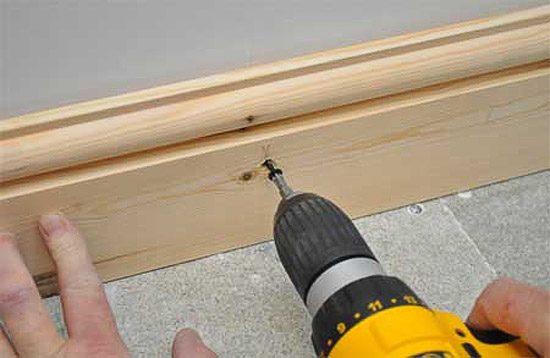
And now for the beaten level put the beaconswith which we will level the floor:

Elimination of differences depending on the degree of curvature
There are several ways to align floors with explicit curvature:
- Self-leveling mixtures, which themselves fill small differences of about 2-3 cm.
- The leveling coupler which is simply irreplaceable at the big curvature of a floor.
- Adjustable floors, where each lag can be raised to the height that is needed.
- Dry prefabricated screed, which is capable of falling asleep with everything.
- And less ambitious, in the form of plywood flooring, for example.
It cannot be said that any of the listed methods is worse or better - it all depends on the condition in which the base is and how pronounced the curvature of the floor is.
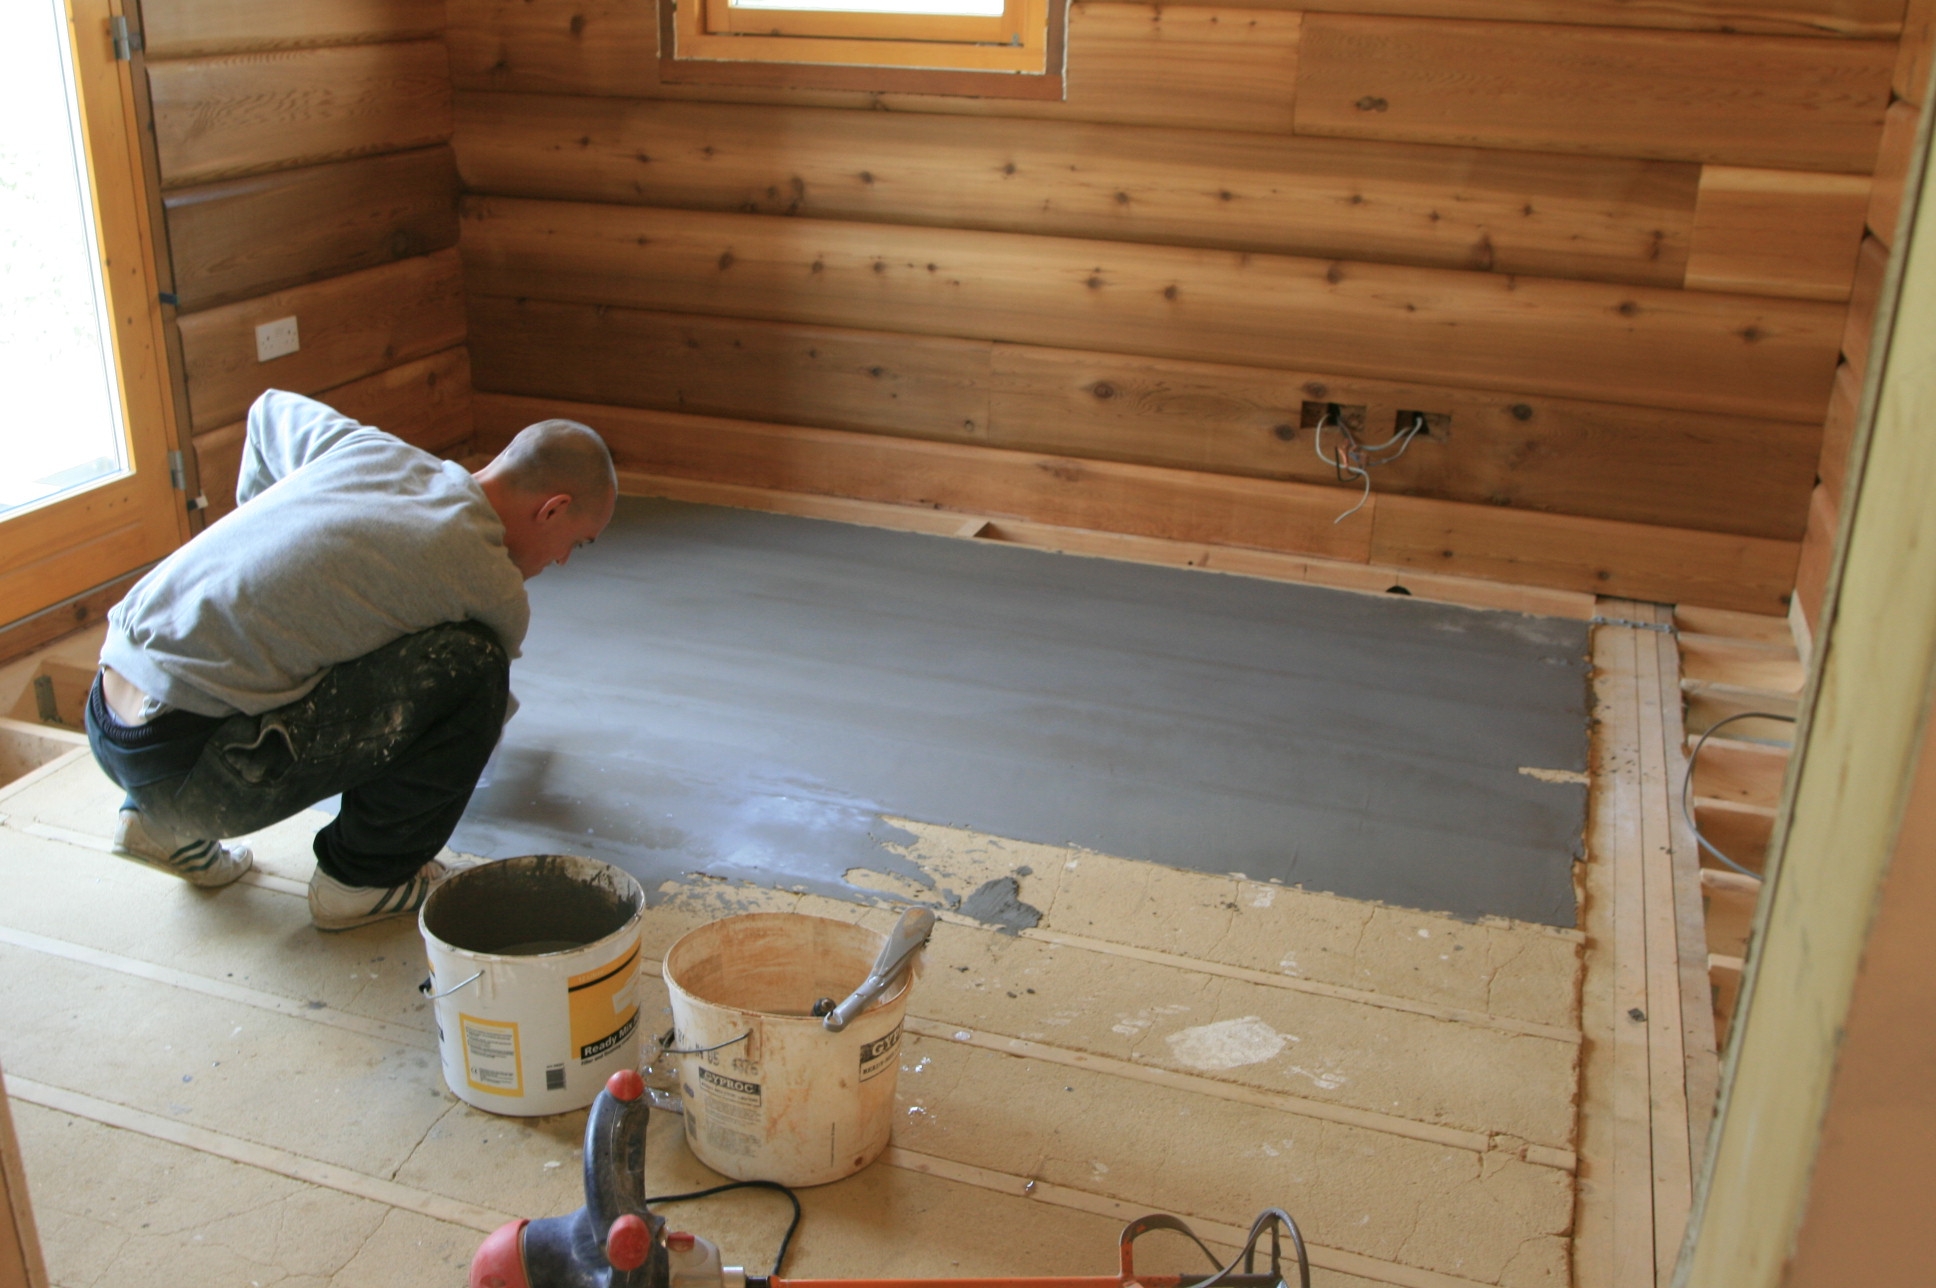
Technology No. 1. We bring the foundation to perfection
If the floor surface is almost flat, an additional horizontal surface can be given with sheets of extruded polystyrene foam, or with a full dry screed. Many people appreciate such a screed because the process of such work is as clean as possible: no dust, no dirt, no dampness.
But the dry layer must be aligned with the horizon carefully - and just by eye it will not work. To do this, put special beacons in the form of U-shaped profiles and fill it with mixture. Align on these profiles, as on slippery rails - the only way to guarantee that the entire floor has one level. A fairly responsible process, note.
Technology No. 2. Align slight curvature
The maximum bumps that may be on the “wet” floor screed are 2-3 mm. If the planned finish requires a more accurate horizontal, the floor will have to be leveled further self-leveling mixtures or plywood sheets.
Technology No. 3. Fill cracks, potholes and spalls
Self-leveling mixtures are designed for thin-layer and thick-layer floors. So, sometimes it is necessary to level up to 8 cm of the floor difference, and sometimes on a concrete screed it is necessary to create something like a film:


Technology No. 4. We deal with noticeable roughness
To solve problems with large enough potholes in the floor, it is better to use cement-sand screed - laying it is quite easy, and it will cost inexpensively.
Technology No. 5. Very old floor - there is a solution!
But if your old floor resembles a roller coaster horizontally, to level it the most practical solution is a concrete screed with expanded clay or adjustable logs.
And how to properly level the floors with the above technologies, you can find out other articles on our site.
4 comments