
How to make a concrete floor screed: technology of work + recipes for mixing concrete
If we talk about a really reliable and proven foundation for installing a warm floor and finishing coatings, then the most traditional option is a concrete screed. Strong, thoughtful, calculated - it can be laid on any uneven base, and it is even easy to make the desired bias. A lot of advantages over more fashionable methods of construction and just a few minuses, available components and not complicated manufacturing technology.
In simple terms, a concrete screed is cement, sand and other fillers, most often crushed stone and calcareous heat, sometimes expanded clay, gravel and perlite. And it is important not only to make the mixture correctly, it is also important to use it correctly, smooth and dry. All this is the guarantee of the future of a strong and safe floor, and now we will understand all the subtleties of technology.
Content
Stage I. Preparing the Old Foundation
The basis for concrete screed you may have an old wooden floor, concrete, slab or bare ground in a private house. Therefore, it is important to inspect what is in front of the screed for peeling - offhand they are not so easy to notice. Be sure to clean them, and cover large cracks with thick cement mortar.
On the old concrete floor with potholes, humps and drops, it is necessary to level everything that is possible. For this task, a mosaic grinding and milling machine for concrete and a construction vacuum cleaner are used to remove the resulting dust.
Only after this can be done beating horizontal level around the perimeter of the room.
Stage II. We measure the curvature and set the beacons
If you lay the concrete screed directly on the ground, it must first be well tamped, and preferably with a special installation. If you skip this step, the base will simply sag over time, and hefty cracks will go along the screed. Next, on a compacted ground we arrange a sand cushion. We also ram it well, then we put waterproofing. It is necessary so that moisture does not seep from the freshly laid concrete into the base, and capillary suction from below does not occur after solidification.
And only at this stage it is already possible to set up beacons, on which we then fix the guides. And all this can be easily done from improvised materials: long battens, pipes, broken bricks and cement mix, and most easily from guide profiles of a T-shape, as well as a U-shape. But you can’t put them out of wood - this material will absorb moisture directly from the screed, and its shrinkage will be uneven.
So, we lay the beacons on heaps of cement. It is convenient to expose profiles using self-tapping screws, for which we pre-drill holes. To do this, you can use a screwdriver and a 10 cm dowel:
- We screw them through the metal profile into the floor, and then tighten the height of the profiles above the floor.
- We measure the slope with a level and tighten the desired dowel.
- After precise alignment, add more screws so that they are at a distance of 50 cm from each other.
Like this:

In order to make the floor even, it is necessary to carefully recapture the horizontal level of the room.We will tell you more about this in the material:https://floor.expertexpro.com/en/viravniv-stazhka/kak-otbit-uroven-pola.html.
It is important to put all the beacons strictly parallel to each other, and the most extreme - 20 cm from the walls. In any case, the distance between the beacons should be 30-40 cm less than the length of the rule. By the way, beacons made of metal pipes are also quite durable. Fix them either on a dense solution of gypsum, or on the Rotband. Place them also parallel to each other. Before laying the mixture, check the horizontal alignment of the guides with a long level, and always in several directions.
In fact, the calculation of the installation of beacons is quite simple. So, the less experience you have in installing screeds, the closer you place the guides between them. The larger - the wider the distance can be made, while saving on profiles - but still so that the level does not fall between them.
Some experienced builders manage to make concrete screed without any beacons at all:

Stage III. Waterproofing and reinforcing screeds
If your apartment is not on the first floor, it is advisable to additionally waterproof the future floor. For this purpose, both roofing material and other materials that can be combined with a screed are suitable. But remember that there must be some adhesion of the solution to the base.
Most often they use the “Universal” primer for this. Dry the primed floor for at least 2-4 hours. If the surface of the base floor absorbs moisture too much, then prime it twice - otherwise this quality can then affect the final result.
Another important point. As a waterproofing layer for the so-called floating concrete screed, in most cases a conventional polyethylene film is suitable. But you can use such variations:

Special waterproofing requires a concrete screed in the bathrooms and in the shower:


As reinforcement for concrete screed most often they take a regular road mesh with cells 100x100 mm or 150x150 mm. Recommended diameter of the rods - 5 mm:

But if the loads on the future concrete floor are maximum (as for multi-ton trucks), instead of a mesh, a reinforcing cage will be needed. The same applies to the construction of the slab foundation.
Stock up on fittings with rods of 8-16 mm, and tie it in place manually or with a special gun. And for a concrete floor device with a high dynamic load (when heavy equipment will ride on it or huge machines will work), to avoid cracking from changing pressure, add steel fiber at the pouring stage. It will not only replace standard reinforcement, but will work in tension.
Stage IV. We prepare concrete mix for the floor
Prepare the mixture according to one of these recipes:

Here, for example, how to make an insulated screed:

This is a master class for making screed with screening:

Note that for the industrial scope of work, concrete mixer trucks are ordered directly from the factory - this is the only way to guarantee an absolutely uninterrupted supply of the mixture directly to the construction site. And with mechanical kneading, the quality of the solution is higher. In fact, all these mechanized systems are low-speed units that are equipped with special pumps for pressure with water and air.
Such automatic dosing of water and strict adherence to the mode of preparation of the mixture ensures its highest and most stable quality. There simply is no so-called human factor when a construction team can confuse, forget, or replace an expensive component with a cheaper one, playing on the intricacies of mixing.
If you do not have the opportunity to order at least a concrete mixer, prepare the solution yourself. The main rule: you can not take more water than by prescription, otherwise the screed after drying will go with stains and bumps. Excess moisture during the installation of the concrete floor, of course, greatly simplifies the laying process and improves the plasticity of the mixture, but the final quality of the screed may not please.And the lime body (1:10) is added to the concrete screed in order to improve the plasticity of the mixture. Use the prepared solution within 1.5 hours after preparation.
If serious loads are planned on the concrete floor, the thickness of the screed is at least 12 cm plus reinforced reinforcement. Additionally, “topping” is also used - an increase in the compressive strength of concrete by as much as 100 MPa.
But when it is important that the concrete screed does not create additional loads on the floor, it is made according to the lightweight version:

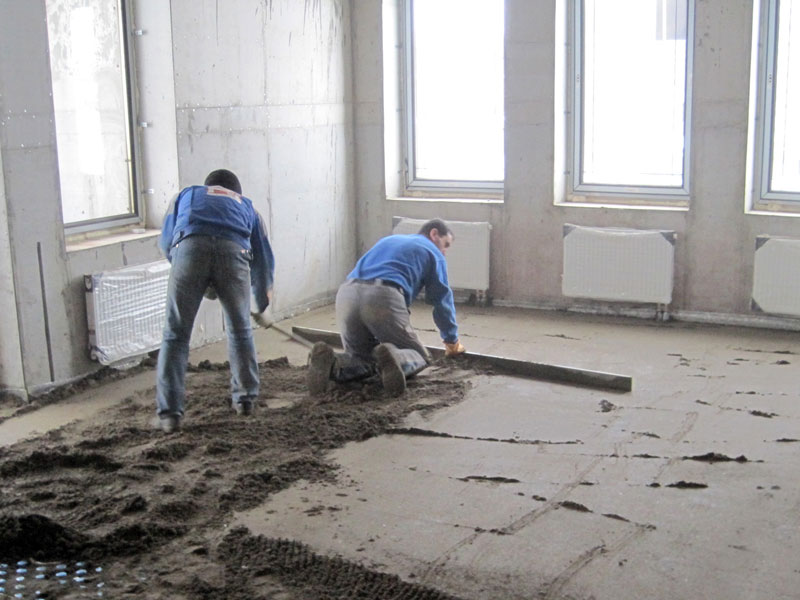
For leveling large areas of the floor you will need to prepare the appropriate volume of cement-sand mixture. To facilitate and speed up the process, use a mechanized or machine screed. You can read more about this in the article:https://floor.expertexpro.com/en/viravniv-stazhka/mexanizirovannaya-styazhka.html.
Step V. Fill the finished solution.
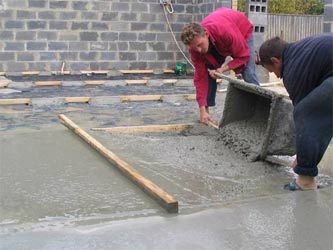
Now make a screed and align it. The screed should slightly cover the levels - “immerse”. Fill the “paths” between the guides from the wall opposite to the exit, and for leveling the mixture take a rule or a long one-and-a-half.
Tip: if you need to arrange a multi-level screed in one room, then where you have outlined the difference in height, additionally put the formwork from plywood. Thanks to it, the solution will not flow into the neighboring zone.
In the highest place on the floor, the screed layer should be at least 2 cm. If it is smaller, it will crack. But no more than 6-8 cm - this is an unjustified load on the foundation. The best option is 5 cm. For the installation of such a screed, a concrete brand should be taken at least M-300.
But today mechanized filling of the floor is considered much more rational. The sequence of actions in this technology is the same as with manual work: preparation of the base, primer, installation of beacons, preparation of the mixture and pouring. Only this time the most laborious and painstaking work is performed by the technician. And this has its advantages:
- As accurately as possible, the mode of mixing and adding water is observed.
- The solution is fed directly to the place of application.
- Even large areas are flooded without any problems.
- The solution is prepared automatically and strictly according to the recipe.
- The total speed of work as a result is increased by 3-5 times.
The process itself looks something like this:

If you plan to make a concrete screed over a large area, then use “cards” - a special formwork in the form of rectangles. For this purpose, wooden boards from 2 cm thick and ordinary guides for vibration rails are well suited. It is only important that the formwork line completely coincides with the pattern of expansion joints - the junction between the already set and freshly laid concrete. But if you want to do without formwork in a large area, then the whole process of pouring concrete should be continuous.

And now about the mounted communications. To begin with, the concrete screed on warm floors has its own characteristics:
- The minimum thickness of the concrete screed above the warm floors is 3 cm, which is necessary not only for the strength of future floors, but for even distribution of heat from pipes or cables.
- Concrete can only be poured after the circuits are fully installed and hydraulic tests are carried out.
- The brand of concrete should be used no lower than M-300, the crushed stone of the fraction should be within 5-20, and the thickness of the screed itself above the pipe should be at least 30 mm.
But this is only indicative data, often all parameters of the future screed are calculated by the designers for a particular object.
You can also make a concrete screed using semi-dry technology, using at least three times less water than with a regular recipe. By the way, water for cement hardening practically does not play a role, and therefore do not worry about the quality of such a screed:

Stage VI. Finishing work
As in the case of a self-leveling floor, in an ordinary screed, air lenses can also form - air bubbles, which subsequently greatly degrade the quality of the future floor.They can be removed with an ordinary thin rod, with which you need to pierce everything flooded between the lighthouses.
Beacons can be removed after pouring the solution the very next day, and print the impressions after them and prime them with a new solution. Immediately after laying the screed twice a day, moisten it with water - so the screed will not crack.
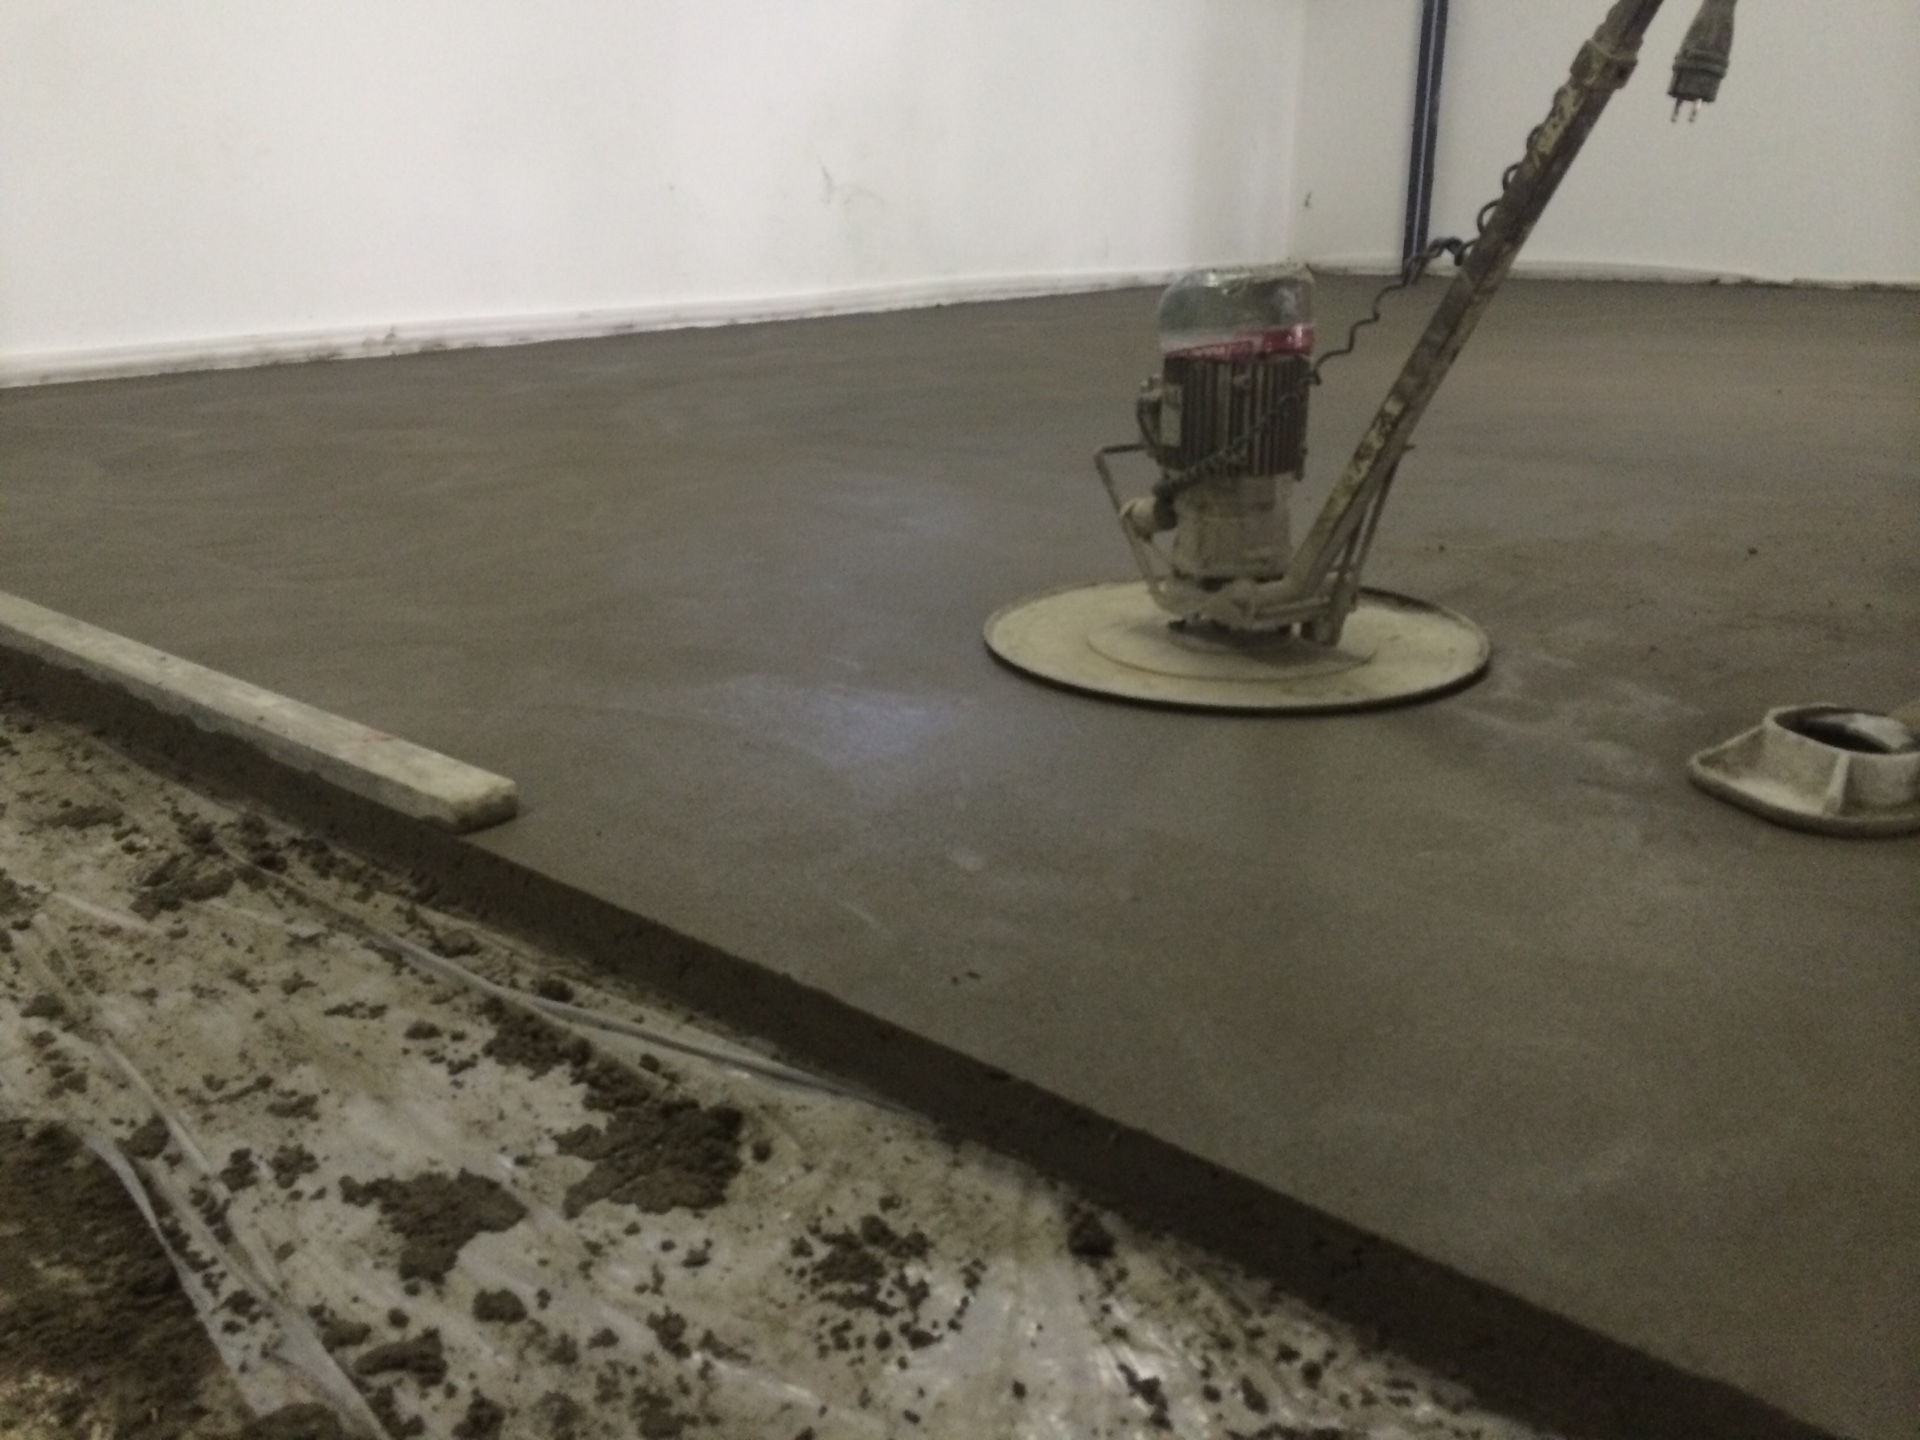
And finally, we level and collect the excess concrete, for which any flat object, even a block, if it is even, is suitable. Observe the condition of the screed for about 10 days, daily moistening it. Sometimes additionally finish grinding screeds with special grinding machines.
If you still have questions, we recommend that you familiarize yourself with the general rules and tips for installing any type of screed on our website:https://floor.expertexpro.com/en/viravniv-stazhka/ustrojstvo-styazhki-pola.html.
Stage VII. Check the result.
A correctly made screed should be perfectly smooth, with a uniform color, without gloss or any flaws. Check the evenness with a staff-rule - the height difference should not exceed 4 mm per square meter.
For control, the surface of the screed is also tapped with a hammer - if somewhere the sound from the impact is deaf, it means that there is waste or voids in the screed.
Stage VIII. We strengthen the concrete floor
By the way, the finished concrete screed can be strengthened - this process is called topping. Usually this is a necessary stage in the arrangement of industrial floors, for which a considerable load is planned, but the base for the garage can also increase the life of the foundation. For example, to harden the surface of the finished concrete and dedust it in such rooms, Ashford Formula polymer impregnation is actively used today.
And for a living room, the epoxy impregnation water-based Epoxy is more suitable for hardening a concrete floor, its dust removal and anti-corrosion protection. Apply Epoxol on wet concrete. This impregnation is quite environmentally friendly and does not have an unpleasant odor. The only moment: such compositions give the concrete surface a yellowish tint.
By the way, you can apply Epoxol as a fresh concrete floor, or on the old one - in any case, the strength of the base will increase by 2-3 times, and the risk of cracking will become much less. Neither aggressive detergents, nor salt solutions, nor fuels and lubricants of the surface of such a floor will harm. Plus good frost resistance.
Follow the technology, take into account all the subtleties - and the concrete screed made by your hands will turn out to be strong, durable and technically competent.
6 comments