Draft floor in a wooden house: we make a strong lag base for the final coating
Everyone understands that it is impossible to live indoors without arranging the floor. Whether it is a house or an apartment, one cannot do without it. But whether everyone needs a rough floor in a wooden house. Why do we need additional waste for its arrangement? Is it really impossible to do with a finish coating? And what is meant by this name? This article is for those who want to figure this out and make a rough floor on their own.
What is a rough floor?
The rough floor is a kind of base for the finishing coating, creating for it a horizontal even plane. It serves to distribute the load on the floor covering.
The classics of the rough coating is considered the device of the rough floor on the logs. This is exactly what is usually done in wooden buildings. For him, lags with a certain distance from each other are laid on the base base. On large areas provide a double frame system, the so-called crate.
In it between the lags set jumpers from the timber (crossbar). In this case, the horizontal alignment of the surface of the logs is constantly monitored. A cranial block is attached to the bottom of the lag. On it, the subfloor is laid from plywood or wood board. Subsequently, insulation material and waterproofing are laid between the lags.

Subfloor Stages
And now more about how to make a rough floor with your own hands. There are two options for installing the lag: on the floor or on the base. In any case, before the equipment of the subfloor it is necessary to take care of the ventilation of the subfloor. It’s enough for her to drill a few round holes in the corners of the house. Subsequently, they are closed with bars. Also, before starting work, the entire underground space is treated with an antiseptic. These events are the key to the strength and durability of a wooden house.
Preparation of lag for construction
In fact, lags are the bars from which the frame for the future floor is made. For them, boards made of wood of the second or third grade are used. Since usually such logs have an uneven surface, they must be prepared before use.
To do this, the side on which the finishing floor will be mounted must be leveled with an ax. It will not work to make the surface perfectly flat, but a little leveling is necessary. The horizontalness of the finish coating depends on this. On top of the logs are covered with antiseptics.
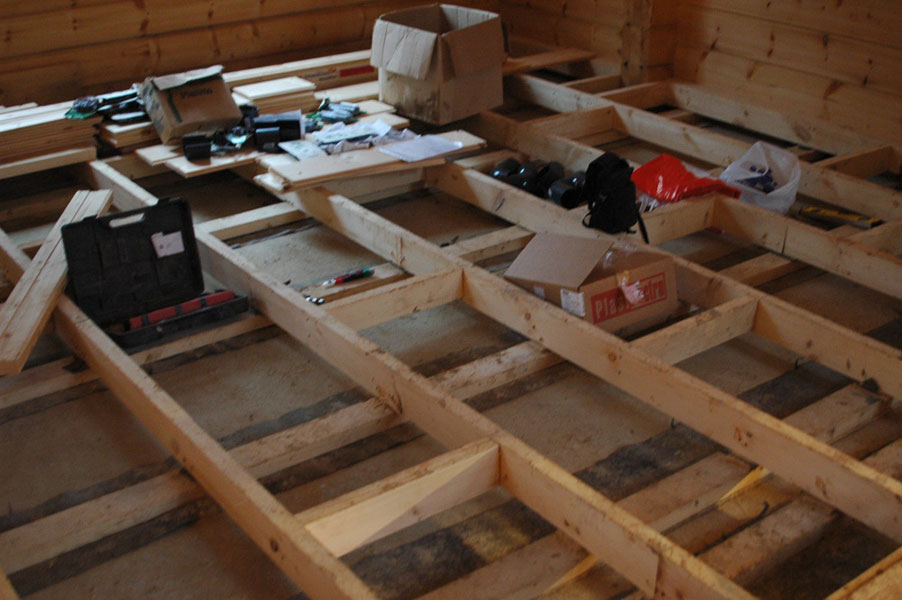
Overlap lag
Before laying the logs, grooves are made in the upper crown of the walls. The rounded logs should lie exactly in these grooves, but with a distance from the end to the walls of 2-3 mm. Later, a gasket for sound insulation is installed between them. In addition to grooves in the beams, for long logs, additional support is installed in the form of brick pillars. The distance between the lags depends on the thickness of the boards used for flooring. The thinner the boards, the more often lags are located.

Note! After installing the lag, their ends must be fastened. This is necessary so that they do not disperse in the process of laying the boards of the rough coating.
Base lag installation
The surface of the base before leveling is leveled, covered with crushed stone and rammed. Next, measurements and marking for the supports are made. As supports, either a grillage covered with roofing material, or bars of the lower harness can act. In the first version, the mark is put on the roofing material, in the second on the uneven bars.

Support columns are installed on a foundation, the minimum dimensions of which for one element are 40 × 40 cm. Its height should be at least 20 cm, with 5 of them above the ground. A waterproofing material is placed on the supports under the logs. It will protect the wood from mold. Logs are attached to the posts with the help of corners and screws with dowels. The same device has a rough floor in a brick house.
Timber fastening
To support under the rough floor on the logs, a beam with a section of 50 × 40 mm or 50 × 50 mm is used. Attach it to the bottom of the lag on both sides. In this case, it is necessary to take into account the size of the future insulation, which will be laid on the rough coating. It’s more economical not to purchase finished bars, but to buy a 150 × 40 board and dissolve it into three parts. As a result, one bar will make three bars 50 × 40 mm.
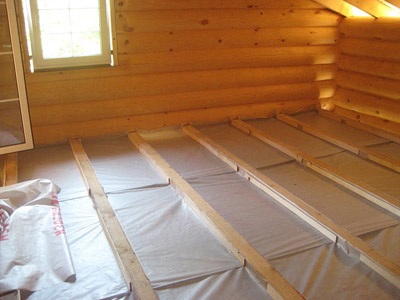
Laying the sub floor
A rough floor is made of plywood or sheets of OSB, particleboard. It is advisable to use plates with tongue and groove ends with a thickness of about 20 mm. The use of sheet materials with a thickness of 12 mm in two layers is allowed. To fix them securely around the entire perimeter, a lath is made of additional transverse bars to the lags. The subfloor boards are fixed with self-tapping screws in increments of 90-140 mm. If the floor is made of sheet materials, the joints should be on the central axis of the additional beams.
Note! Some masters advise not to use high-quality material for the subfloor, but a waste board, slab or picket fence. This is due to the fact that the rough coating reacts to changes in humidity and temperature. And such a material is capable of deformation.

Results and video with an example of work
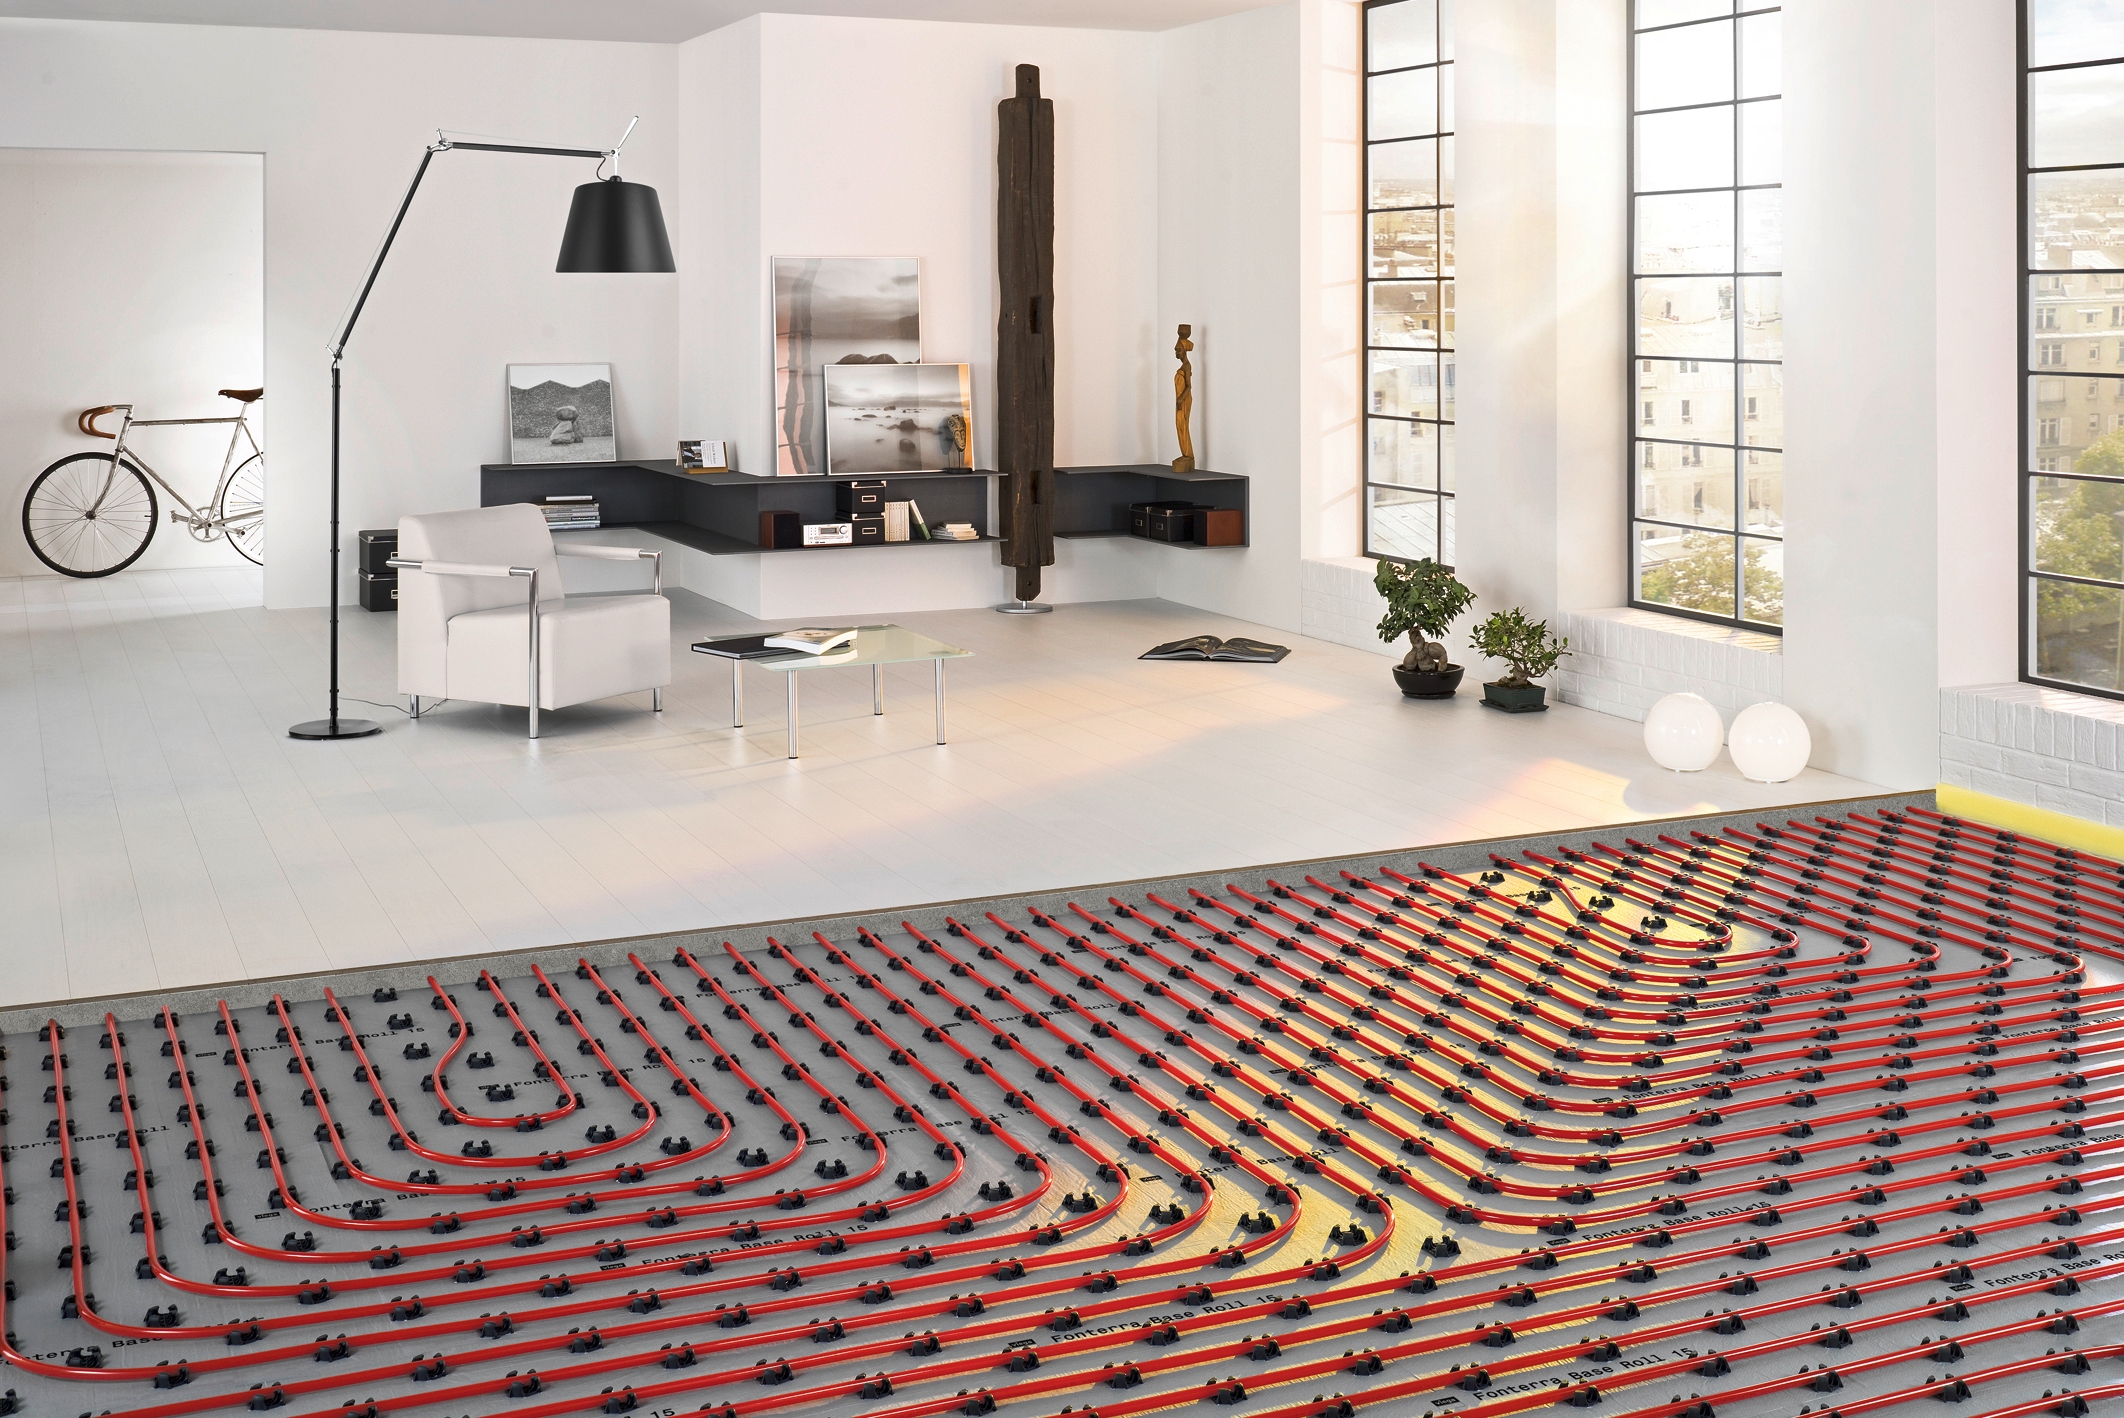
That's probably all, the rest is in your hands. Unnecessary, it would seem, waste on such a device of floors will pay off over time. A layer of insulation laid on a rough coating will help to save on heating. And this is a significant argument in favor of the subfloor device. In addition, a high-quality rough floor is a guarantee of the durability of the finish coating.