
Preparing a wooden floor for laying tiles - 3 different ways of working
Laying of ceramic tiles should be done only on a solid, even and not subject to deformation base. Wooden floors, even the highest quality, do not meet these characteristics. Rather, it is possible to fix the tile on wooden boards, moreover, it will even last for some time at the appointed place. However, very soon, due to the mobility of the boards, the cement screed (or glue) will crack, and the tile will fall off. Therefore, even if you can’t wait to finish the hated repair in the bathroom and quickly put the tiles on the wooden floors, we do not recommend you doing this through the above technology. It will take longer to redo it. The situation can be complicated by the fact that wooden boards, tightly hidden under the cement surface of the screed or glue, can easily rot and then you will have to change the rough floor.

Thus, we conclude: in order to lay the tiles on the wooden floor, you need to change its characteristics. Such a trick is easily done by creating on top of a wooden floor another, strong and rigid base on which the tiles are laid. Let us consider in more detail the technology for the implementation of this event.
Preparatory phase - replacing old boards
First of all, it is necessary to assess the condition of the wooden floor and, if deficiencies are identified, eliminate them. If the boards do not bend and creak when walking on them, then everything can be left as is. Otherwise, the floors will have to be sorted out.

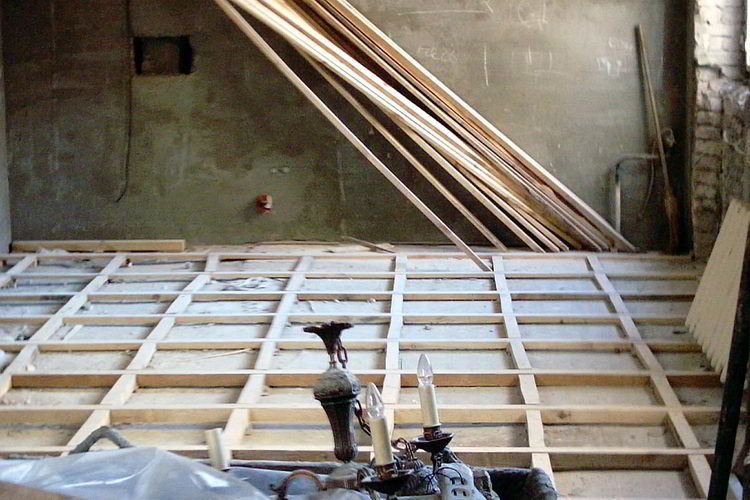
To do this, tear off the board and, armed with a level, check the horizontal lag. It often turns out that they are not laid out according to the level and they have to be aligned. If it is not possible to lower or raise lags that have broken out from the general level, additional boards should be sewn to them in order to reach the height that is required. It is imperative to protect the logs from rotting, so we treat them with protective antifungal impregnation.
Between the logs we pour expanded clay, which will additionally strengthen the “inflexibility” of the wooden floor, and will also serve heat and sound insulating purposes.
After that we put the removed boards on the prepared logs. If some floorboards rot or collapse, then replace them with new ones. Instead of boards, it is permissible to use sheets of thick moisture-proof plywood with a thickness of at least 12 mm - they are dense enough to not bend and withstand the necessary load.

We lay boards or plywood sheets on the logs not end-to-end, but with a small gap (3-5 mm is enough). This is necessary for ventilation of the wood flooring. Instead of gaps, you can make holes in the wooden base - the effect will be the same. To prevent moisture from the concrete, earthen or wooden floor from getting on the substrate, we cover the rough boards with polyethylene, parchment, bitumen paper or other waterproofing coating. A more convenient way of waterproofing protection is to apply a special mastic or mortar, for example, Polyfluid, to the plank floor.
Liquid glass coating for plywood substrates
In order to use this method, on the rough floor we pre-lay sheets of plywood or chipboard treated with protective impregnation. With a wide brush, we apply a layer of latex on the surface, on which we immediately lay the masking net. After the latex has dried, the mesh is securely fixed to the base with a few screws.

Next, we apply a solution of liquid glass, coarse sand and water (2: 2: 1 ratio) to the resulting surface. We wait until the composition dries, priming it and proceed to laying the tiles.
Tile base - reinforced cement screed
Traditionally, tiles are fixed to a cement screed. Well, we will use this idea and we will only make the screed not ordinary, but reinforced - so it will be stronger. So, on the plank floor, on top of the waterproofing, we lay a metal mesh of thin wire.

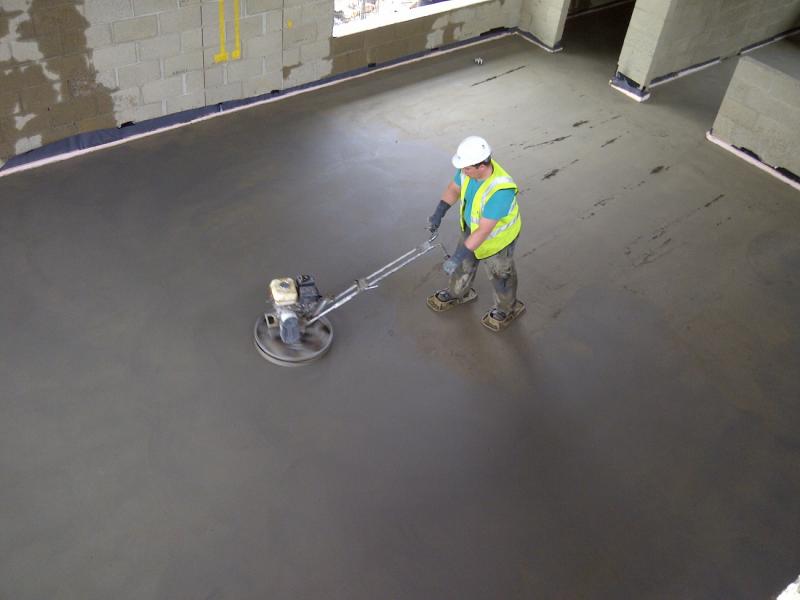
Then we set up the lighthouses and fill the cement screed with a thickness of 3-5 mm. It is more convenient for these purposes to use a self-leveling mixture for floors. In this case, there is no need for a level and lighthouses. Cement screed is good for everyone, but it significantly makes the floors heavier, which is undesirable for houses with wooden floors.

"Dry screed" - the use of sheets GVL or TsSP
It is much easier to use the “dry screed” technology to create a base for tiles. In this case, on a waterproofing coating of a wooden floor we lay gypsum fiber sheets with a thickness of 20 mm (GVL), consisting of pressed gypsum and cellulose fibers. This material is much stronger and more plastic than the usual drywall, so it can be used not only for covering walls, but also for floors. In rooms with high humidity should be preferred GVL - moisture-resistant gypsum sheets. As an alternative to GVL, one can also consider DSP - cement-bonded particle boards with a thickness of 10 - 15 mm.

Sheets of the selected material are fixed on a wooden base using self-tapping screws in a checkerboard pattern, that is, the joints between the sheets of the previous row should not coincide with the joints in the next row. At the same time, we pay attention that these joints are not located above the slots of the wooden floor. It is advisable to fill the seams between the sheets with elastic polyurethane mastic (for DSP) or with special glue (for GVL). Between the wall and the “dry screed”, as a rule, gaps remain. We fill them with mounting foam.

The last stage of work on the device of the base for the tile is the application of deep penetration primers on the GVL or TsSP sheets. Voila! Now you can start laying tiles.
2 comments