Laminate on the slopes: stylish decoration in a modern interior
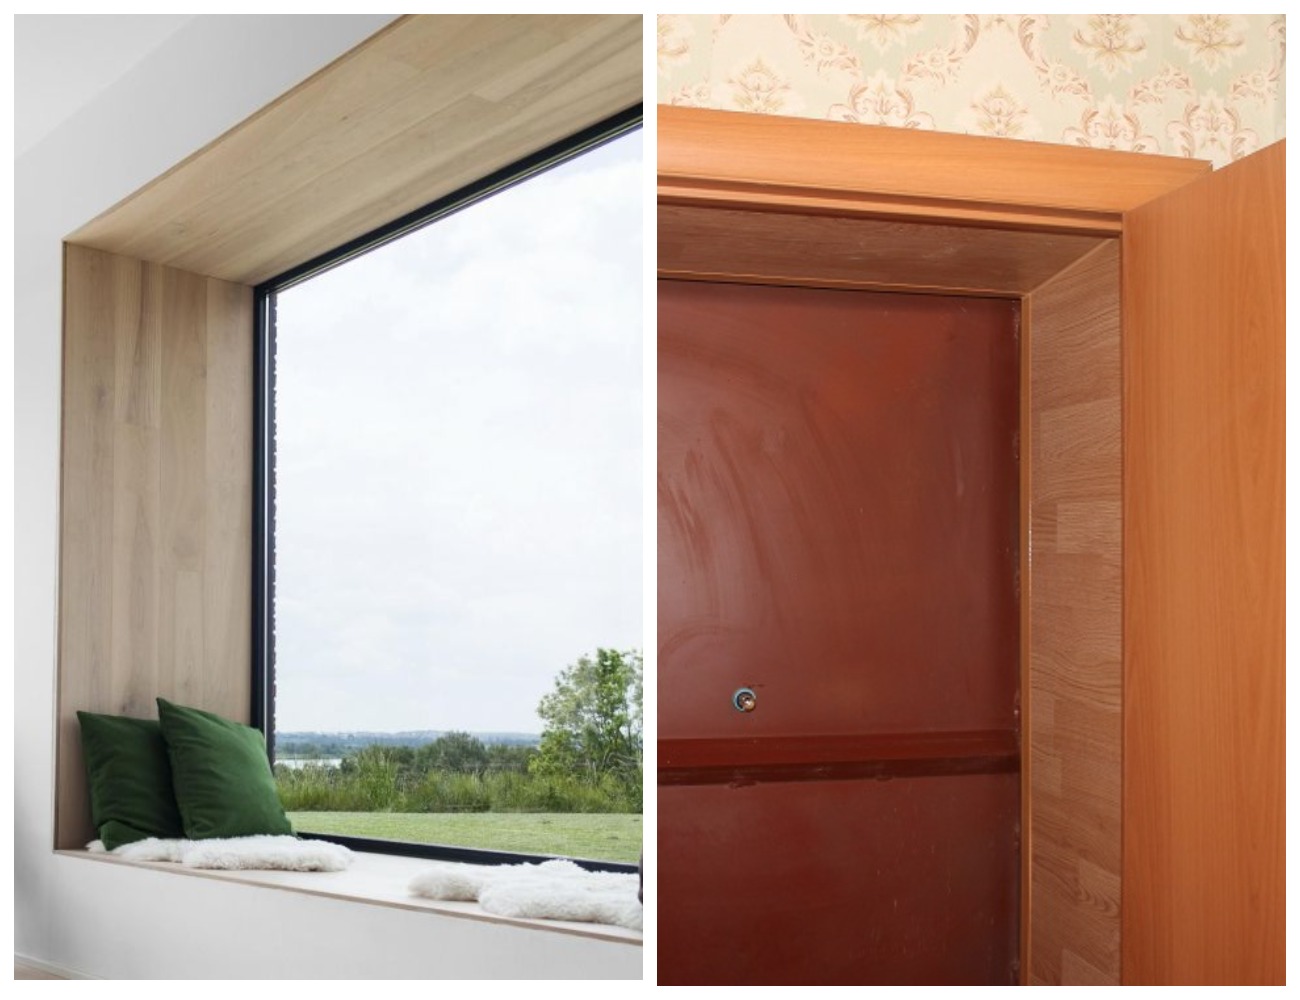
Laminate slopes are a new word in interior decoration. Material that was previously used for floors has long expanded its range of applications. One reason is its aesthetic appeal. Therefore, if the room is planned flooring of such material, it is worth grabbing a few more panels - for windows or doors. This design will look very organic.
Pros and cons of laminate for finishing slopes
Floor material began to be used in this form for many reasons:
- a large selection of colors and textures, so the material is easy to pick up for other interior items;
- high strength and wear resistance;
- resistance to mechanical stress;
- simplicity in leaving - it is enough to wipe a surface with damp textile;
- attractive appearance.
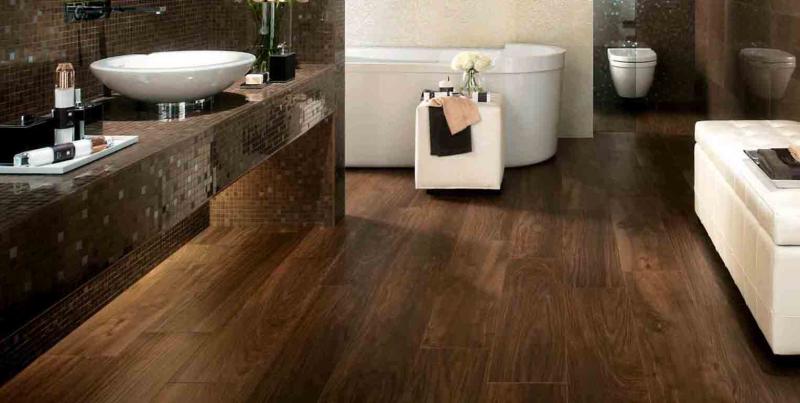
But the laminate has one significant drawback - it is contraindicated in the effect of moisture. Therefore, such decoration is permissible only in the apartment, but not on the outside of the house. The same applies to temperature fluctuations, under the influence of which the lamellas are deformed. Do not sheathe them on slopes in humid, warm rooms, for example, in the kitchen and bathroom. Plastic is more suitable there.
What material is suitable for slopes
Depending on the wear resistance and withstand loads, the classes of laminate are distinguished:
- 21 - for bedrooms, libraries, offices in residential buildings;
- 22 - for children and living rooms;
- 23 - for hallways and kitchens;
- 31 - for small offices;
- 32 - for classrooms, boutiques, receptions;
- 33 - for shops, restaurants and other places with high traffic.
With increasing strength of the laminate, its thickness increases.
Since the lining of door slopes is not subjected to such loads as, for example, an office building, products of the lowest wear resistance class are suitable. For window slopes it is recommended to choose a material of a higher class, since freezing of walls and the formation of condensation are possible, especially if the windows are not inserted correctly.

Mounting Methods
Installation can be carried out in one of two ways, each with its own advantages.
To the frame
This method is convenient in that you do not first need to plaster the walls - you can leave everything as it is. First, a frame structure of wooden bars or a metal profile is installed on the wall.
Installation is carried out in the following sequence:
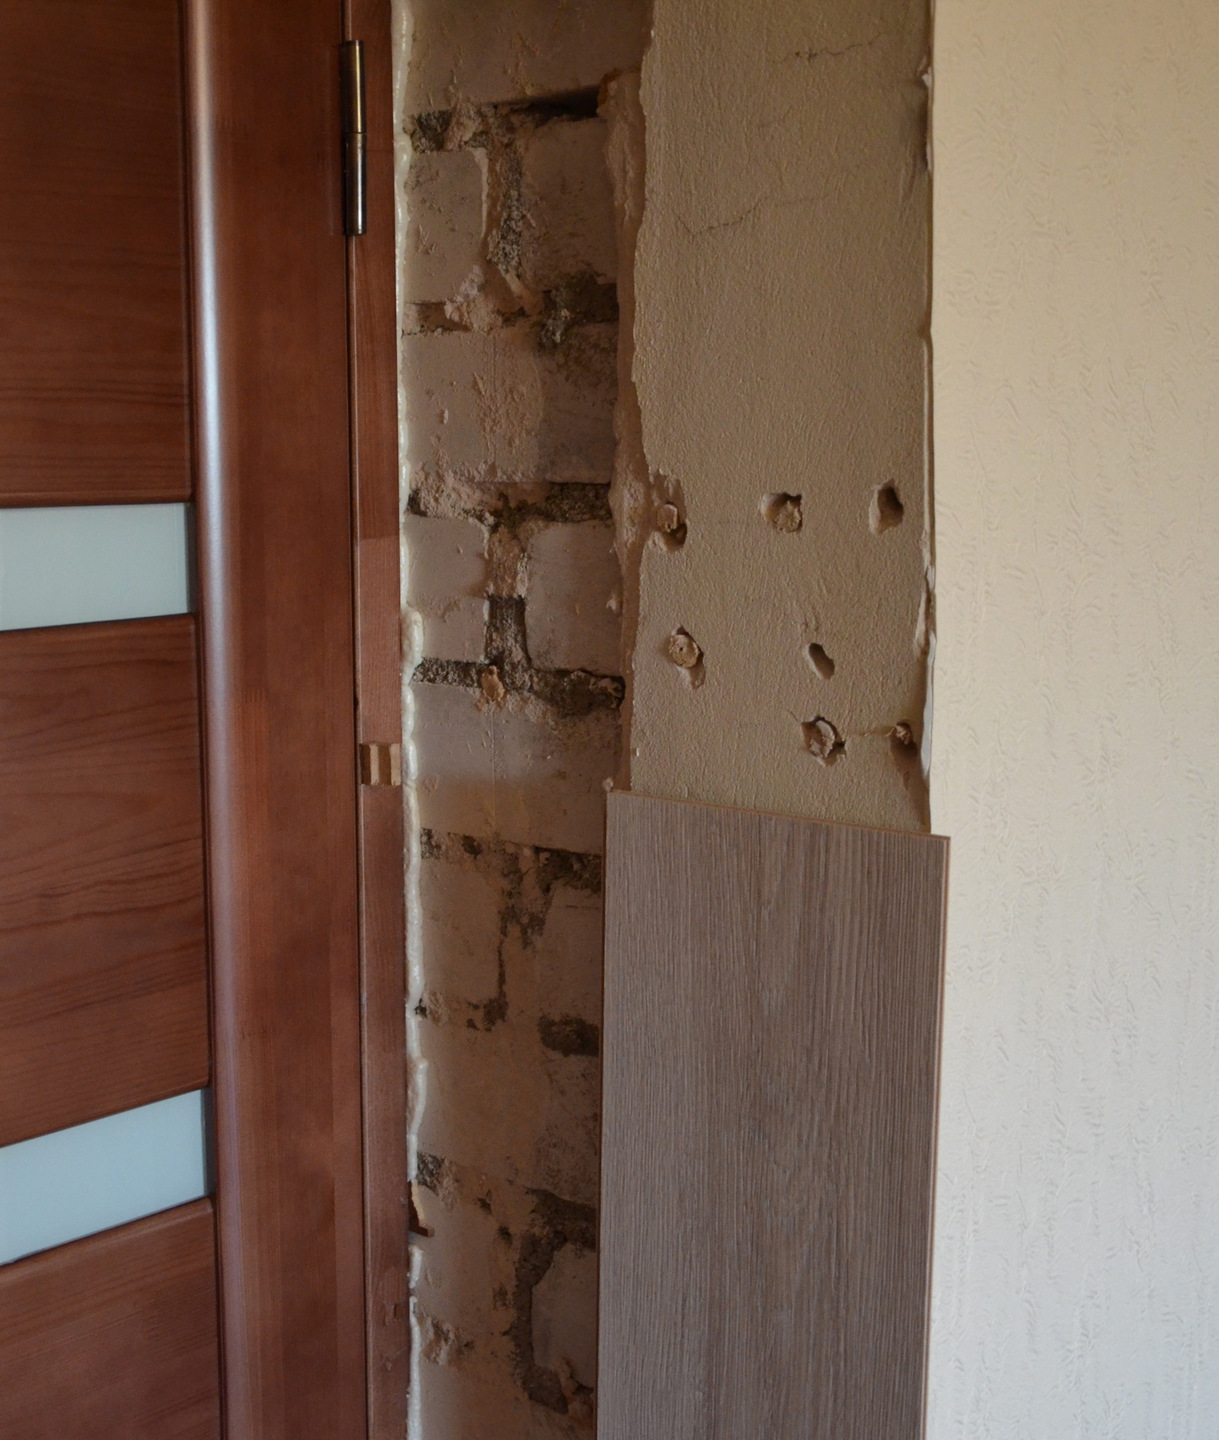
- Remove the remains of polyurethane foam on a contour of a window or doors.
- Wooden blocks are installed vertically.
- Mount the horizontal part of the crate if it is necessary to obtain greater rigidity of the structure.
- Fasten the lamellas.
The lamels are fixed with one of the fasteners:
- ordinary or decorative screws. The hats of the first are hidden under furniture caps or special stickers;
- kleimers. This method is more complicated as it will take to trim the boards so that the locks fit tightly together. But the fasteners will not be visible.
Without frame
It can be mounted on plaster. In this case, the walls are pre-aligned. The method is convenient in that it requires less effort and skills. Even a novice master will cope with such a finish.

How to make slopes from a laminate
Work begins with measuring the length and width of the slopes, drawing up a plan for laying the laminate. Panels can be directed along or across. Depending on this, the amount of materials needed is calculated.
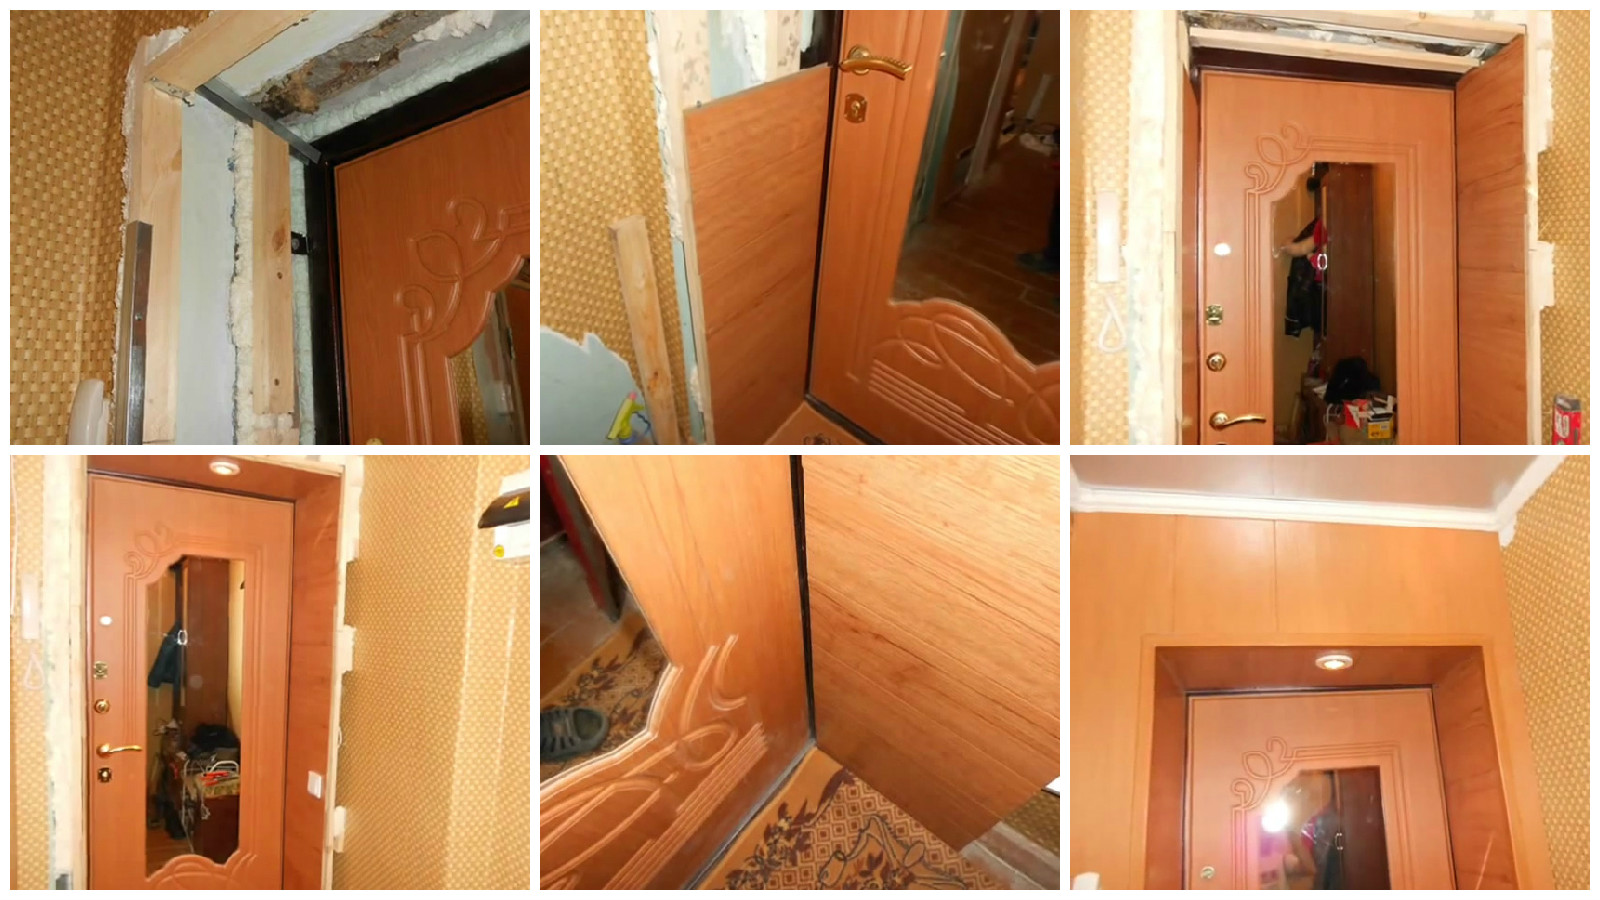
Installation on entrance doors
To trim the door slope you will need:
- laminate;
- plastic corners;
- cutting tool - circular saw, jigsaw, grinder or hacksaw;
- liquid nails or construction glue;
- mounting knife.
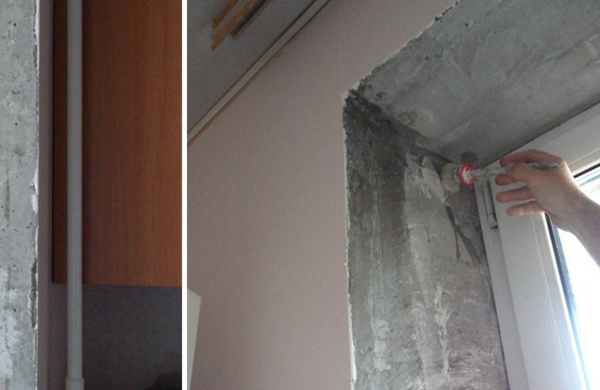
At the preparatory stage, the slopes are cleaned from the stucco stucco, if necessary, level, grind and remove dust. A few hours before the start of work, the surface is primed. Laying starts from the bottom of the slope.
Sheathing is carried out in the following order:
- Cut lamellas and cut depending on the selected length. If laying horizontally, a lock spike is cut from the narrow edge of the slats. All actions should be as accurate as possible so that the decorative coating is not damaged.

- Liquid nails are applied to the lamella.
- They put the board against the wall and press it to increase adhesion to the surface.

- Apply glue to the second lamella.
- Insert the board into the groove of the bottom row and press it against the wall.
- Repeat the steps until the top slope is reached.
- The last panel may need fitting. But its width should be such that between the upper edge and the slope angle there should be a gap of about 0.5–0.8 cm.
- Repeat the same on another vertical slope.
- On the upper part of the slope, the middle is noted, and the width at the doors and on the opposite side is also measured. Sometimes a slight expansion is observed in this part.
- Measure the width of one lamella and also find its longitudinal axis of symmetry.
- Work is postponed for a day so that the glue dries.
- A shield is assembled from solid and detachable pieces in the shape of the upper part of the slope. The longitudinal axis of the central panel should coincide with the middle of the upper slope.
- Apply liquid nails to the surface of the structure and apply the laminate to the wall.
- So that the material does not fall, and the glue is seized, attach the shield to the wall with tape. You can put a vertical spacer.

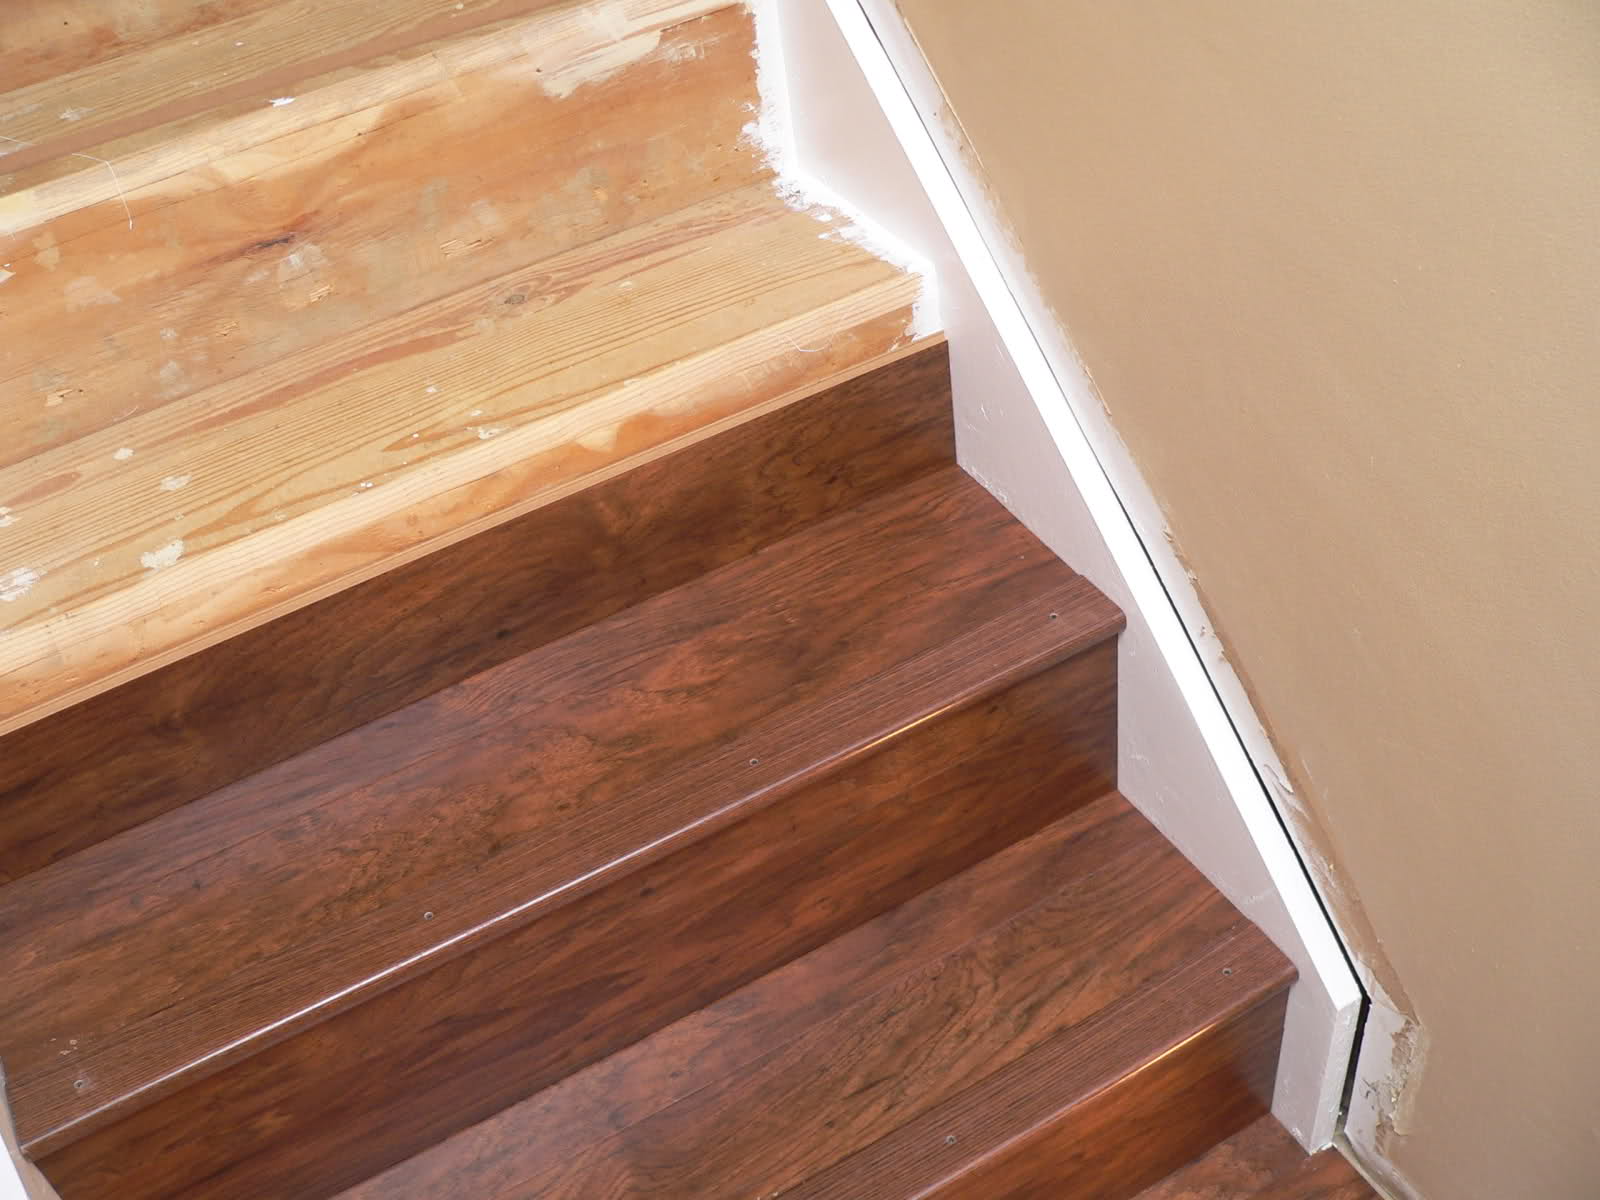
- When the finish is set, the edge of the wall is decorated with corners to match the laminate.


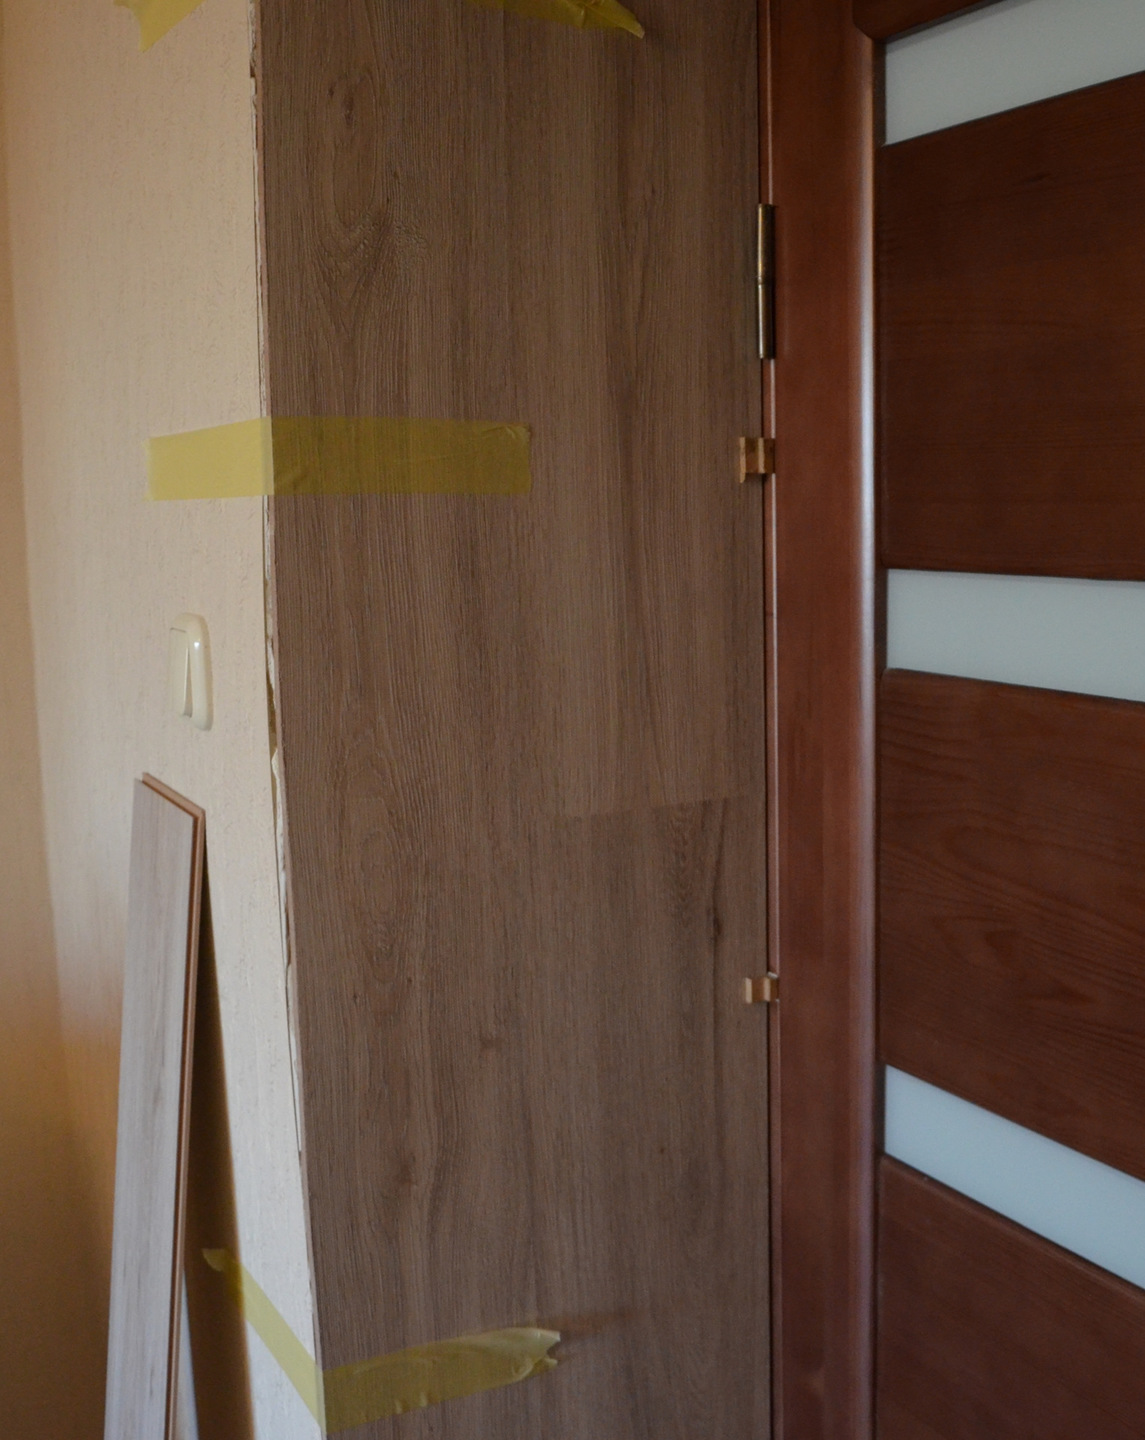
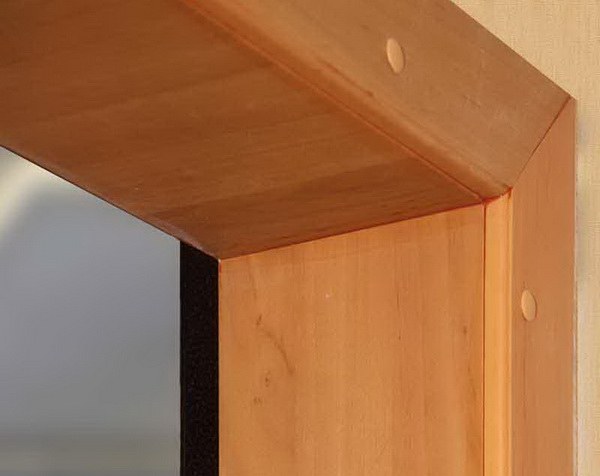
You should pay attention to the features of the cutting of lamellas. The board should not go beyond the plane of the wall. Let it be better a little shorter. Errors then hide behind a decorative corner.
If the laminate is trimmed in the longitudinal direction, the laying pattern must be carefully considered. With a slope width of more than one lamella, it is better to put individual elements in a checkerboard pattern.
Video: do-it-yourself slopes of the front door from the laminate
Installation on windows
The slope is established after the replacement of the window and window sill. For decoration you need to prepare:
- lamellas;
- plastic platbands;
- cutting tool;
- construction glue;
- self-tapping screws;
- struts;
- screwdriver.
Installation is carried out in the following sequence:
- A wall is prepared for cladding - they are leveled, dust is removed, and treated with a primer.

- The panels are cut lengthwise. In total, three parts should turn out: two for the side parts, one for the top. If the wall is narrow, then one board is enough in width.
- Apply glue to the part for the upper part of the slope and attach it to the wall.
- Insert vertical struts in three or four places, so that the glue seizes with the surface of the plaster. Setting time is indicated in the instructions.
- Remove vertical struts.
- Apply glue to the side panel and to the surface to which the laminate will be attached.
- Apply the prepared part to the wall and press firmly.
- In three or four places screw the screws.
- Repeat the same with another vertical panel.
- Insert horizontal struts and tighten fasteners. Close on top with decorative self-adhesive "five-copeck coins".
- A plastic platband is installed around the window from the side of the room.

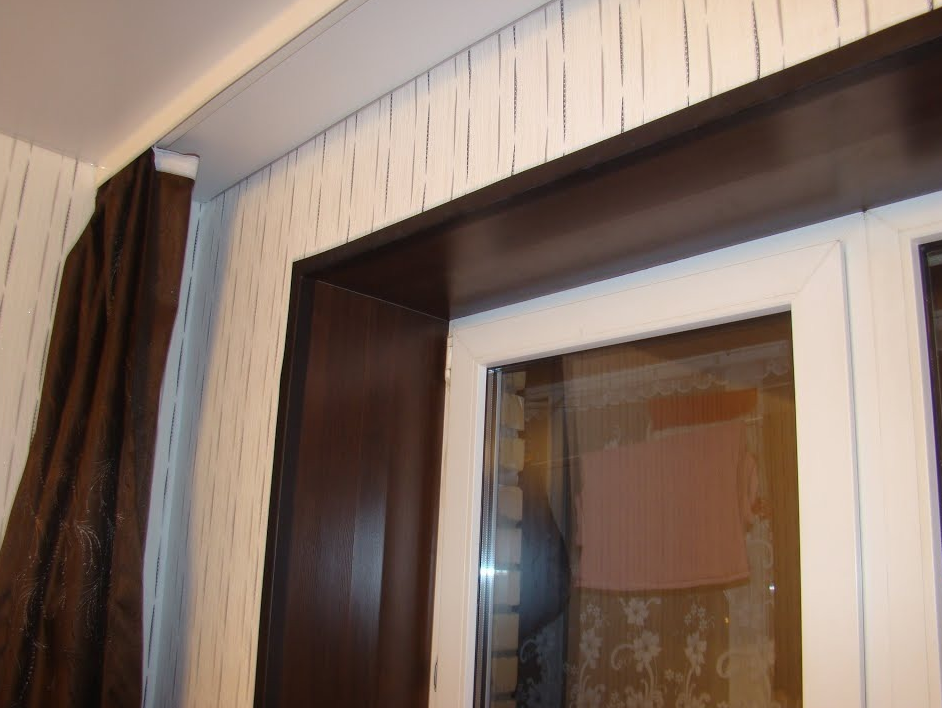
Laminate slopes cannot be distinguished from wood. A room with such decoration takes on a respectable appearance even at low cost. Especially interesting is the design of windows that looks in the interiors of a chalet, country, classic, loft.
Video: window decoration with laminate
Laminate is used not only for flooring, but also for finishing slopes. Even a novice master will cope with styling, since working with this material is simple and comfortable. And the result is always pleasing.