
Dry heat-insulated floor: options of designs of a water heat-insulated floor without a coupler
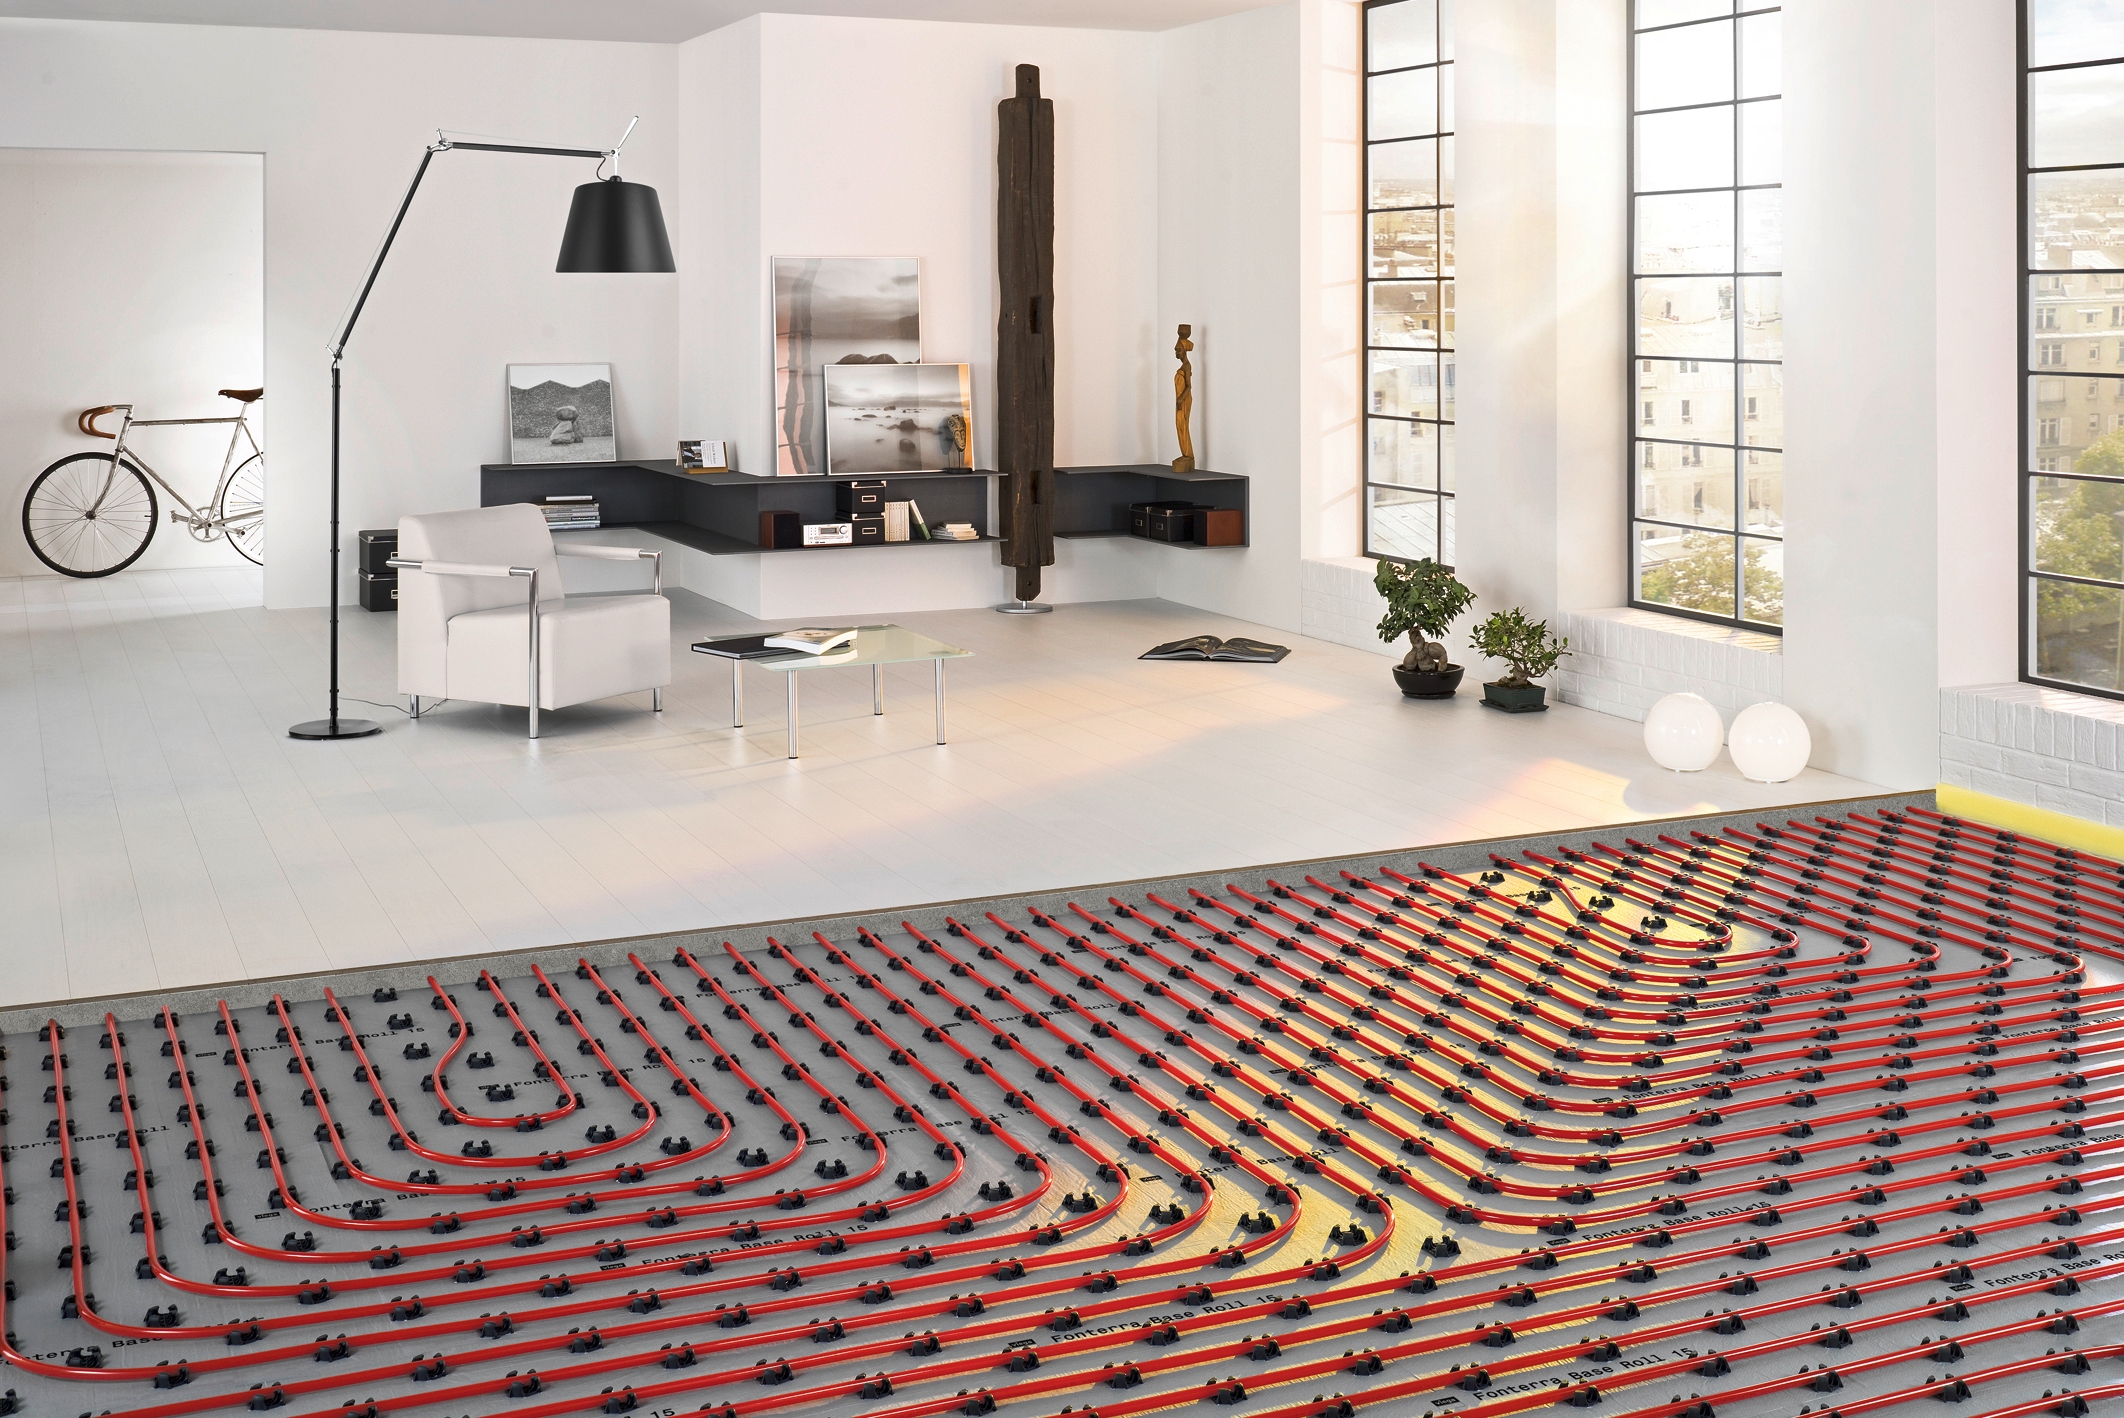
Traditionally, the installation of a water heated floor is accompanied by a concrete screed device, which poured the laid pipes. Disadvantages of the system: heavy weight, forced floor lifting (respectively, a decrease in the height of the ceilings in the room) and an increase in the total installation time. These features do not always allow the use of wet screed in the production of underfloor heating. Then the structure is assembled from ready-made, sheet materials, laying heating pipes in the “pie”. Such underfloor heating systems are called dry or flooring.
Content
When is it better to use a flat design?
Conditions requiring the use of a dry construction of a warm water floor:
- The height of the room is limited. For example, with low ceilings or when raising the floor level is not provided for in a specific design (architectural) solution.
- Weak overlap. A concrete screed with a height of 50 mm weighs 250-300 kg per 1 m2, which creates a significant load on the floors. This is especially true of wooden floors in log cabins, panel and frame houses. A dry system weighs significantly less - 25-30 kg / m2.
- The impossibility of a concrete screed device at a particular facility. For example, in an apartment, on the high floor of a multi-storey building, where it is problematic to deliver ready-mixed concrete (or mix the right amount on the spot).
Advantages of this arrangement option:
- high installation speed due to the lack of "wet" processes;
- light weight (up to 30 kg / m2), due to which the design does not load the floors and can be used in any type of house;
- small thickness (35-60 mm), minimally raising the floor level;
- minimum labor costs during assembly;
- withstands temperature extremes;
- good heat and noise insulation of layers of dry heat-insulated floor;
- the possibility of use in temporary buildings and premises, since the dry structure can be quickly assembled, and then disassembled and mounted in another place.
The disadvantage of a dry warm floor is the fact that its elements are afraid of moisture and require mandatory waterproofing.
The flooring system is polystyrene or wooden. In a polystyrene system, polystyrene mats are used as a carrier insulating material. In wooden - ready-made modules or strips (slats) made of wood or chipboard. On top of any of these bases, steel or aluminum plates with grooves, playing the role of a heat-distributing layer, are mounted. Heating pipes are laid in the grooves of the plates (lamellas). The “pie” is completed by the carrier layer of gypsum fiberboard.
You begin to think about the underfloor heating system, but you have not decided how to choose: water or electrically? Our material will help you understand the question:https://floor.expertexpro.com/en/tepliy-pol/kakoy-pol-luchshe-vodyanoy-ili-elektricheskiy.html.
Option # 1 - Polystyrene System
The polystyrene system can be mounted on a solid wooden or concrete base. For example, on concrete slabs or an old wooden floor. Since the system is very light in weight, it is used in all types of houses, including panel and frame houses.

Polystyrene system design
The design is based on polystyrene plates, in which heat-distributing lamellas are made of galvanized steel or aluminum. Mount in the grooves of the plates heating pipes. The rigidity of the structure is given by 2 finishing layers of GVL sheets laid in a checkerboard pattern. The minimum height of the polystyrene system is 50 mm (compare: the minimum height of the concrete structure of the warm floor is 80 mm).
The polystyrene plates used in the system can be smooth or have boss protrusions.
Smooth polystyrene boards are either ordinary foam with increased density (PSB-S-35 or PSB-S-50) or extruded polystyrene (for example, foam). For dry floor heating systems use sheets with a thickness of 10-40 mm. Since initially these plates are smooth, manual cutting of grooves is performed for laying heat-distributing plates in their thickness.
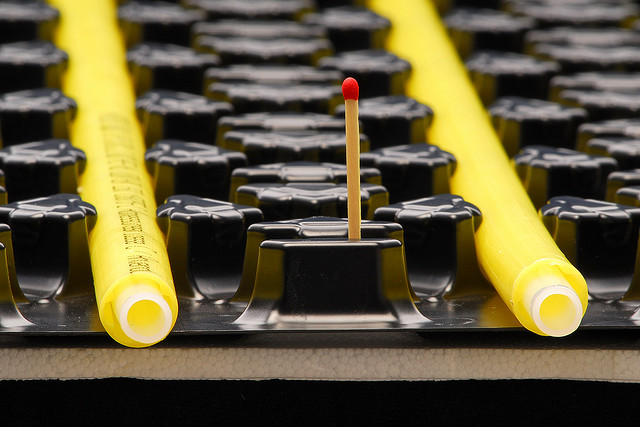
Polystyrene mats with boss protrusions are more suitable for the construction of a dry underfloor heating. On their surface there are protrusions in the form of cubes or cylinders with a height of 20-25 mm. In the space between them lay metal plates with pipes. Thanks to the protrusions, plates and pipes are securely fixed on the mats, not shifting during operation. On the side surfaces of the mats there are special mounting locks that allow you to connect the elements in one continuous field. To simplify the adjustment of the mats to each other, a marking line is applied to the seams.
Another important element of the polystyrene flooring system is metal plates. They can be made of aluminum or galvanized steel. The plates, taking over the heat from the heating pipes, transmit it to the finish floor. Thanks to this, a continuous thermal field is created, the floor heats up evenly.
Installation of underfloor heating on polystyrene mats with protrusions
The algorithm for creating a polystyrene structure is as follows:
- The floor surface is cleaned of debris.
- Level the surface when exceeding the permissible norm of the floor level difference (2 mm / m.). Imperfections in concrete slabs are eliminated by means of a thin screed, wooden floors are sorted and again pulled together.
- On a flat surface lay a plastic film with a thickness of 200 microns. Cloths are placed with an overlap of 10 cm. The joints are fixed with tape. The polyethylene film has the properties of a waterproofing that protects the heat-insulating polystyrene layer from moisture.
- A damper tape is placed around the perimeter of the room, close to the walls - to compensate for the possible expansion of the structure from thermal loads.
- Mounting mats are laid out on the film, connecting them through the castle system. With a small thickness of the mats, the joints are additionally coated with glue - for better fixation.
- Between the protrusions on the mats, metal plates are laid.
- In the grooves of the plates, heating pipes are laid. In places where the pipe bends, where it comes out of the plate and rests only on polystyrene, it is advisable to put a plastic film under the pipe. This will avoid scratches in the floor structure during its operation.
- A second layer of plastic film is laid on top of the system.
- To complete the construction, polystyrene mats with pipes are coated with 2 layers of GVL. Recommended thickness is 10 mm. The plates are laid and glued at the joints with PVA glue. The second layer is laid on the first in a checkerboard pattern to avoid overlapping joints. The bonding of the layers to each other occurs through self-tapping screws.

Floor installation using smooth polystyrene plates
When using smooth plates, the grooves on their surface for laying pipes are cut independently using a thermal knife (on sale it can be called a device for cutting grooves).
In general, the algorithm for installing a warm, dry floor using smooth slabs is no different from a similar process using boss mats. In addition, you will have to do the grooves yourself.
First, polystyrene plates are laid on a plastic film. With a thermal knife, bent channels are cut out on the surface of the plates. Having laid the plate on the plate, a thermal knife is held along its edge and the first groove is cut out. Click the plate in it. Close to the first row, lay the second plate and hold the knife along its edge. Thus, the series are obtained strictly parallel, and the step is the same. The average consumption of plates is 5.5 pcs / m2.
In the cut-out grooves they put heating pipes. The following layers - a waterproofing film, GVL and a finishing flooring - are mounted in the same way as in the previous design.

The well-known technical term "polystyrene foam" combines several varieties of thermal insulation products. They differ in characteristics, applications and installation methods. In the following material we will help you figure out what is best to buy for a heated floor with specific technical data:https://floor.expertexpro.com/en/tepliy-pol/penopolistirol-dlya-teplogo-pola.html.
Option # 2 - wood system
This system is especially popular in wooden houses, with beamed ceilings. There are two types of structures: rack and module.

Rack and timber system
In the wooden system of the rack type, the role of the support layer is played by slats cut from boards, chipboard, MDF or moisture-proof plywood. You should use products with a thickness of 20 mm, the moisture content of which does not exceed 10%.
Stripes are cut from wooden plates. For a pipe pitch of 150 mm, the width of the strips should be 130 mm, for a pitch of 200 mm - 180 mm, for a pitch of 300 mm - 280 mm. Of these, a support layer for pipes will be made up, which is laid on an old wooden floor or logs. In the latter case, you can "save" on the height of the floor structure up to 20 mm.
Installation of a wooden system is performed as follows:
- The bearing surface is cleaned and leveled. Irregularities of not more than 2 mm per 1 m are allowed. gender. If this norm is exceeded, the floor must be leveled.
- For hydro and vapor barrier, polyethylene 200 microns thick is laid out on the floor.
- A damper tape is laid along the walls of the room.
- Cut logs are laid on logs or a solid wooden surface and fixed with self-tapping screws. The layout is conducted across the supporting boards or logs, strictly according to the layout of the heating pipes. First, in accordance with the plan, the contours of the heating pipes are transferred to the floor, and then these contours are surrounded on both sides with wooden support strips. The clearance between the strips should be 20 mm. Where the plan is rounding the pipe, it is advisable to round the support strips.
- Between the planks, support plates with grooves are inserted, fixing them on the wooden planks with screws. To evenly warm the entire floor, it is necessary to spread the plates on 80% of its area.
- The heating pipes are inserted into the grooves of the plates without additional fixation. To make installation easier, it is recommended at the design stage to plan the installation of pipes with a "snake" and not a "snail".
- Planks with heating pipes are covered with 100-200 microns thick polyethylene. In this case, this layer plays the role of acoustic protection that prevents the appearance of sound effects during heating and cooling of pipes.
- GVL sheets with a thickness of 10 mm in 2 layers are laid on the film, fixing them together with self-tapping screws. This layer is the supporting and supporting for the finish flooring.

The warm floor is very convenient and practical, but the installation of the system itself is not as complicated as the proper selection of flooring for it. We will help to understand the issue and prevent mistakes in the article:https://floor.expertexpro.com/en/tepliy-pol/pokrytie-dlya-teplogo-pola.html.
Modular wood system
When assembling a modular system, the heating pipes are laid not between the rails, but in the cut-out grooves of the special modules - square boards made of chipboard.
The system can be mounted on an old wooden floor or directly on the logs. Continuous coverage is achieved thanks to the locking connection of the modules.
Installation of a modular system is carried out in the same way as when using strips in a rack structure. However, in this case, the process is simpler and faster, since the grooves in the modules are already cut out, do not require calculations and formation.

Finish finish
Polystyrene and wooden structures of the warm floor are completed by the GVL bearing layer. The top cover is laid on top of it: laminate, parquet, linoleum, carpet, tile. The selected coating must be labeled to allow its use in the underfloor heating system. When choosing ceramic tiles, it is necessary to supplement the design of a dry warm floor with another layer of GVL, which is glued to the previous layer using PVA.

3 comments