
Connecting a heated floor to a thermostat: instructing in electrical work
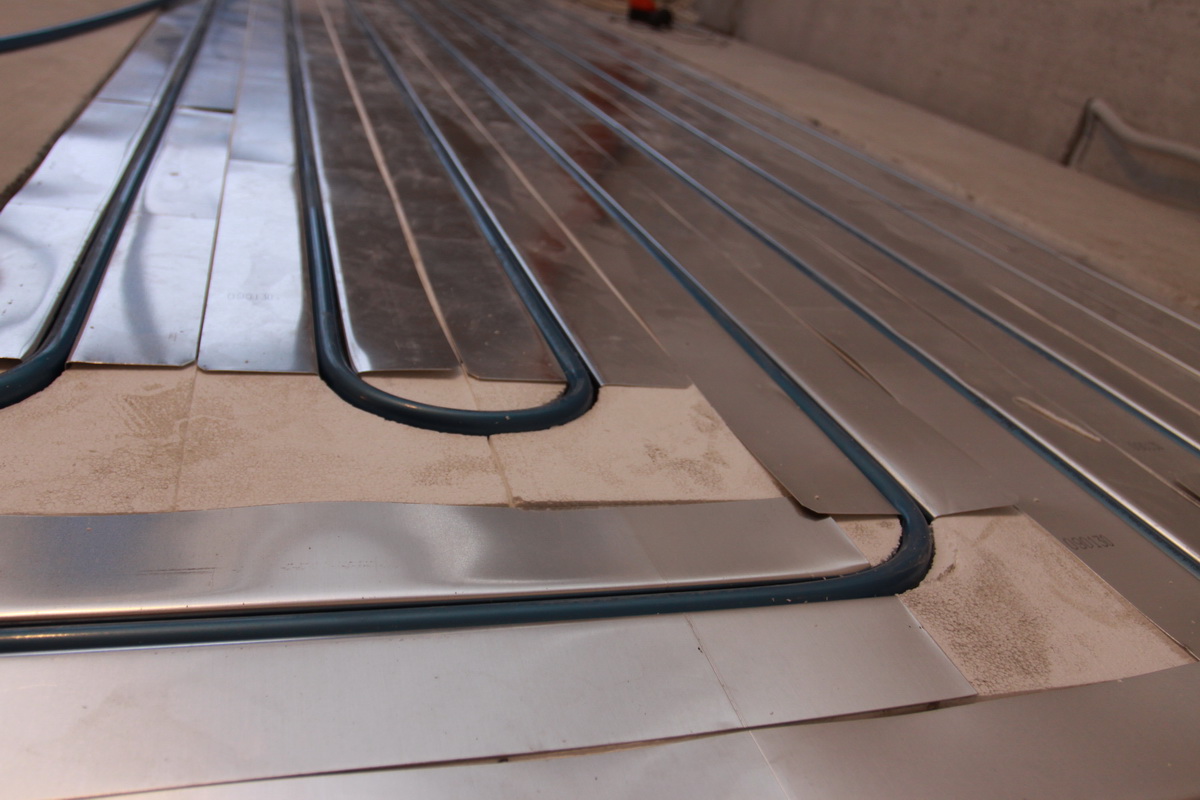
The device of the underfloor heating system consists in the installation of heating elements under the floor covering and their further connection to the electric power source. This does not happen directly, but through the thermostat - a device that serves to adjust the temperature regime. Connecting a warm floor to a thermostat (thermostat) and electricity is a simple operation, so you can perform it without involving professional electricians. Moreover, caring manufacturers usually depict an electrical circuit for mounting on the bodies of their thermostats. However, if you are a person who is completely not versed in the wilds of electricity, some nuances may not be clear to you. We will try to take into account possible controversial nuances and describe the process of connecting the thermostat to the underfloor heating system in as much detail as possible - for “dummies”.
How does the thermostat work?
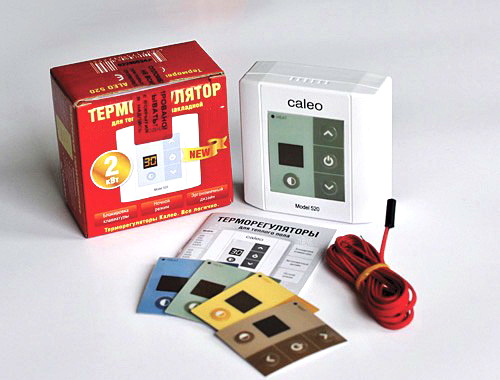
The temperature regulator is used to maintain a stable temperature in the "warm" system, as well as to turn on and off the heating mats (film). The device "reads" the temperature sensor and automatically turns off the power as soon as the floor is heated to the required limit. At the same time, he remains in working mode and continues to monitor the situation. If the sensor notifies you of deviations in the temperature regime, the thermostat will again run electricity into the system and the floor will begin to heat up.
The most popular and reliable thermostats are mechanical and conventional electronic. More complex - electronic programmable. Despite the significant difference in its "stuffing", the principle of connecting thermostats is very similar.

Installation and connection of the thermostat
The thermostat is usually mounted on the wall like a conventional switch. For him, a place is chosen near the existing wiring, for example, near a power outlet. First, a recess is made in the wall, a thermostat mounting box is installed there, wires (phase and zero) of the supply network and the temperature sensor are connected to it. The next step is to connect the thermostat.
On the side of the thermostat are "nests". The wires of the network (220V), the sensor and the heating cable are brought here.

It is useful to know that the wires that are connected when installing the thermostat are color-coded:
- white (black, brown) wire - L phase;
- blue wire - N zero;
- the yellow-green wire is earth.
Connecting a warm floor to electricity is performed in the following order:
- To the "sockets" 1 and 2 connect network wires with a voltage of 220V. Strictly observe the polarity: wire L (phase) is connected to pin 1, wire N (zero) to pin 2.
- On the contacts 3 and 4, the heating floor heating cable is started according to the principle: 3 contact - wire N (zero), 4 contact - wire L (phase).
- The wires of the temperature sensor (usually built into the floor, that is, determining the temperature in the thickness of the floor) are connected to the “sockets” 6 and 7. The principles of polarity are not necessary here.
- Check the health of the thermostat. To do this, turn on the -220V power supply, set the minimum temperature on the device and turn on the heating element system (by turning the knob or pressing a button).After that, the heating mode is changed to the maximum, that is, the thermostat is “programmed” to the highest temperature that is possible for it. The correct operation of the device will be announced by a click, which will indicate the closure of the heating circuit.
Connection schemes may vary slightly, depending on the types and models of thermostats. Therefore, so that the user does not make a mistake, as a rule, all contacts are registered on the device body.

Small differences in the connection also dictate the features of heating cables of the warm floor. According to their structure and number of cores, they are divided into single-core and two-core. Accordingly, in the schemes of their connection there are some nuances.
Connection to the thermostat of a two-core cable
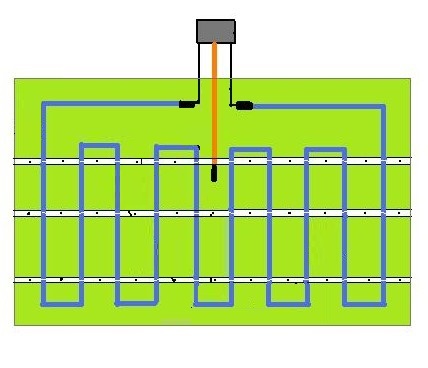
The twin-core heating cable has two conductive conductors under the protective sheath. This type of cable is more convenient than a single-core design, since it is connected to the thermostat only from one end. Consider a typical wiring diagram:

We see that in one two-core cable 3 wires are adjacent: 2 of them are current-carrying (brown and blue), 1 - grounding (yellow-green). Brown wire (phase) is connected to pin 3, blue (zero) to pin 4, and green (ground) to pin 5.
The kit for the thermostat, the circuit of which we just examined, does not include the ground terminal. With a ground terminal, installation is much simpler.

Single cable connection
In a single-core cable there is only one current-carrying conductor, usually it is white. The second wire - green - is the grounding of the PE screen. The connection diagram may be as follows:

White wires (both ends of a single-core cable) are connected to the contacts of the thermostat 3 and 4, and a green ground wire to pin 5.
Video example of installation work
As you can see, connecting a thermostat is one of the easiest stages of building a warm floor. It is not necessary to have seven spans in the forehead in order to deal with the simplest diagram drawn on the device body and to fulfill all the manufacturer's recommendations. The only difficulty may be ensuring personal safety when working with electricity. Follow the installation instructions and remember that work on connecting the thermostat must be carried out with the machine turned off (circuit breaker).
11 comments