
Floor screed repair: how to repair cracks, potholes and stop delamination?
The problem of repairing old concrete floors is faced by many residents of Khrushchev. Over the years, the surface of the screed wears out, becomes cracked. Usually a floor covering laid on top does not allow to notice a defect in time. This leads to the formation of large gaps and chips. And only by undertaking to dismantle the old coating can you discover hidden problems. Therefore, before laying a new linoleum or laminate, it is necessary to repair the floor screed.
Causes of screed defects
Damage to the concrete floor screed does not occur on its own. For this, there must be reasons contributing to the appearance of a particular type of defect:
- Defect - Cracks and potholes in the screed. Causes - There are no shrink seams in the floor. The filling was carried out with a solution of the wrong consistency. Weak reinforcement of the base during construction.
- Defect - Small holes all over the surface. Causes - During pouring, air bubbles remained in the solution. The screed was filled without a primer.
- Defect - Flaking screeds. Causes - Filling was carried out on a poorly cleaned surface. Incorrect base preparation before screeding.
- Defect - Strong dusting of the screed. Causes - Intensive use of coating. The screed was made of low-quality concrete.
Repair screed concrete floor
Screed repair depends on the type of flaw. The most common screed defects are cracks and chips. In addition, hidden voids and delaminations may form. They are detected by tapping with a metal rod.
A muffled sound indicates the presence of voids. If the area of the damaged area occupies more than 30%, it is advisable to replace the old screed with a new one. A smaller area of damage can be repaired.
Repair small cracks
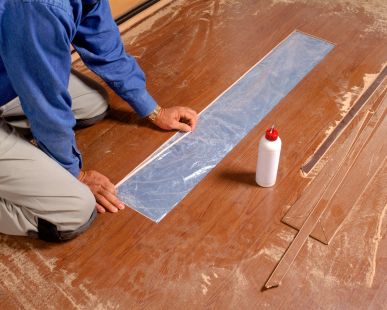
Before repair, it is necessary to clean the repaired area. Expand the crack with a chisel and hammer to a depth of 1 cm. In the cross section, the recess should look like a cone with a narrow part at the bottom. Then the site is re-cleaned and dust free.

To do this, use a vacuum cleaner or sandblasting apparatus. The surface of the recess is treated with an epoxy primer diluted with solvent (1:10) and allowed to dry. This is necessary for a stronger bond of the base with the repair compound. Next, the gap is filled with a solution. After the mixture dries, the repaired surface is sanded and cleaned.
Deep crack repair
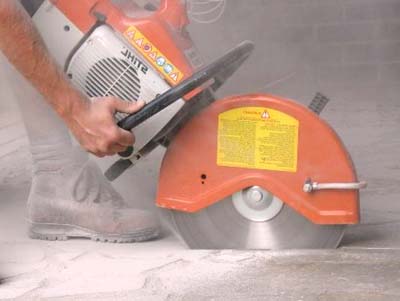
After cleaning the area to be repaired, the crack expands with an angle grinder (grinder) to a depth of 5 cm. To do this, deep grooves are made on both sides of the gap. Then, with the help of a chisel and a hammer, all chipped concrete is removed, the crack deepens. Further, the repaired area is dust-free and covered with an epoxy primer.

The solution is applied in two, and if necessary in three stages. It depends on the size of the crack. If the crack is too wide, metal brackets must be installed. To do this, cuts are made across the recesses with a depth of 2 and a width of 1.5 cm. After adding the repair mixture to these sections, reinforcement is laid. Then the entire recess is sealed with a solution. The final step is grinding the repaired surface.
Elimination of potholes
The exfoliated area is cleaned around the perimeter to a depth of 2 cm using an angle grinder. All concrete inside the cavity to a depth of 2 cm is taken out using a hammer drill. The resulting recess is dusted off with a sandblasting machine or vacuum cleaner and primed. Then the recess is filled with repair mortar and leveled. After the composition has hardened, the surface to be repaired is ground and cleaned flush with the floor.

Attention! Depressions greater than 5 cm are filled with solution in several stages.
Dust removal screeds
Over time, undergoing daily exposure, the screed begins to dust. This happens even if the flooring is laid on the screed. To prevent excessive dusting it is necessary to dust the surface.
Special mixtures such as Elakor or Ashfor will become a good assistant in eliminating this defect. It is only necessary to choose the brand of composition. The choice depends on the load the floor is exposed to.

Before applying the composition, the concrete surface is thoroughly cleaned. For better adhesion, you can sand the floor. Having removed the dust with a vacuum cleaner, impregnate with a roller. Modern compounds not only help to remove dust from the screed, but also to increase the wear resistance of the surface.
Repair floor screed injection
There are times when a concrete floor screed peels off the base. The voids resulting from this negatively affect the wear resistance of the screed. This problem can be solved without resorting to drastic measures. Tapping the entire surface with a hammer, determine the location of voids. In these places the hammer will make a dull sound.

Having thus determined the contours of the exfoliation zones, holes are drilled in these places with a diameter of about 16 mm with a pitch of 240 mm. Filling the construction syringe with a low-viscosity repair compound, pour it into the holes. This is done gradually so that the composition fills the entire cavity. One day after the operation, you can begin to apply a protective coating.
Base alignment
Quite often, before laying the laminate, an uneven base is found. Differences in height do not allow to achieve the desired. Therefore, first of all, it is necessary to level the screed. The easiest way to fix things is to apply self-leveling mixture.
Before using the composition, the surface must be prepared. Clean from dust and rinse twice with soda solution. The base is moistened. The mixture is prepared in small portions, applied to the floor and leveled. Needle roller removes air bubbles from the composition.

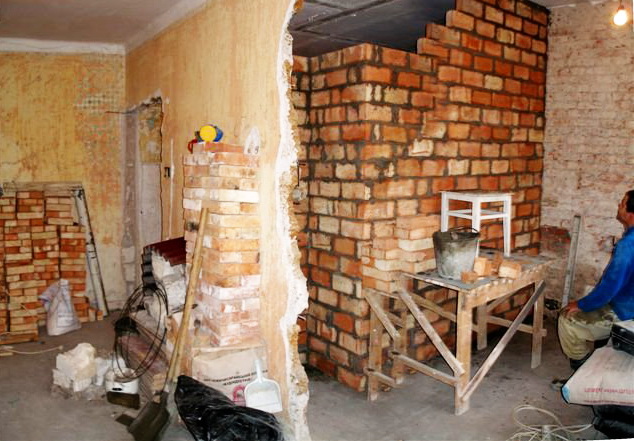
Replacing an old screed
These actions are good if the area of the damaged surface does not exceed 30%. Otherwise, it is advisable to replace the floor screed. The coating is sanded before replacement. Using special mixtures, highly contaminated areas are cleaned. The prepared base is primed. If repairs are made in rooms with high humidity, it is necessary to use a water-repellent composition.
A self-leveling mixture is prepared and applied in small portions. After each application, a needle roller is rolled over the surface of the composition. This helps remove air bubbles that reduce the performance of the coating. The thickness of the layer can be from 5 to 10 cm.
Summary
The service life of the repaired screed depends on the correctness and thoroughness of these works. The quality of the materials used also plays an important role. No wonder they say: "Avaricious pays twice." Do not save on materials. Only in this case, the time for a new repair will not come soon.
1 comment