
Underfloor heating in the bathroom as an example of an electric cable system
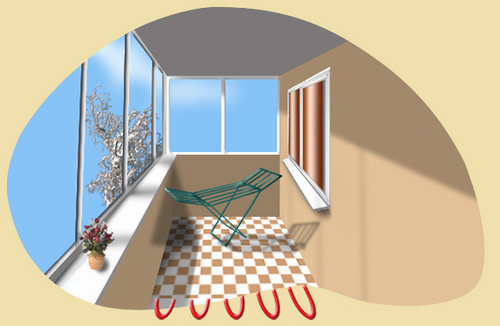
Warm floors can be relevant in any room, but in the bathroom it is practically necessary. In any case, for comfort. Remember a cold winter day when, after a hot shower, your legs fell on the icy surface of the tiles. Not really nice, right? Ceramic tiles practically do not keep heat, therefore, without “targeted” heating, it always remains cold. However, at the same time, it is very practical, especially in wet rooms. Therefore, you should not abandon the tile, especially because there is a way to completely level its “coldness” - to install a warm floor in the bathroom.
Modern underfloor heating systems can be electric or water. Any of these types can be installed independently, but the water circuit requires its own heating system and is not suitable for urban apartments. Electric underfloor heating is universal and its installation is not very difficult, therefore, it will be the subject of discussion now.
Content
We buy everything you need and form a kit
In order to install the underfloor heating system in the bathroom, you must purchase:
- single-core or two-core heating cable;
- thermostat;
- thermal sensor;
- corrugated plastic tube (1-1.5 m long);
- mounting tape;
- material for thermal insulation.

Installation of an electric underfloor heating system
Step 1. Installing the thermostat
It is advisable to start the installation of a heated floor in the bathroom with the installation of a thermostat (thermostat). This is the most important part of the system, which is used to automatically control the degree of heating of a warm floor.
The bathroom thermostat comes with a floor temperature sensor. This device transmits temperature data to a thermostat, which, in turn, controls that the underfloor heating in the bathroom is heated only to a certain temperature. As soon as this happens, the thermostat shuts off the system and turns it on again only when the floor cools down.

First you need to knock out a small depression in the wall for mounting the installation box of the thermostat. This is done at a height of 50-100 cm from the floor surface. After that, two vertical strobes are cut from the resulting depression to the floor using a grinder or a chisel with a hammer. After laying the cable and installing the sensor, two tubes are laid in the received strobes, one of which leads the power wires, and the other wires of the sensor.

Step 2Floor preparation
Since no “dirty” work is supposed after knocking out the strobe, it is time to clean the floor base from debris and building dust. The floor should be flat, without visible elevation changes. If necessary, the floor is leveled with a cement screed or self-leveling mixture.
After the floor is leveled, its surface is primed and wait for the primer to dry.
Step 3. Installing thermal insulation
An obligatory step in the installation of underfloor heating is thermal insulation. It is necessary if you do not want to spend the energy of a warm floor to heat the underlying premises: a neighboring apartment or basement. In this case, your system will run to wear and tear, and the lion's share of the energy will "fly into the pipe", while taking decent amounts from your budget.
Therefore, any heat-insulating material with a thickness of at least 20 mm is laid on the rough floor. It can be polystyrene foam, penofol, polystyrene foam, polystyrene foam, foil foamed polyethylene, cork, etc.
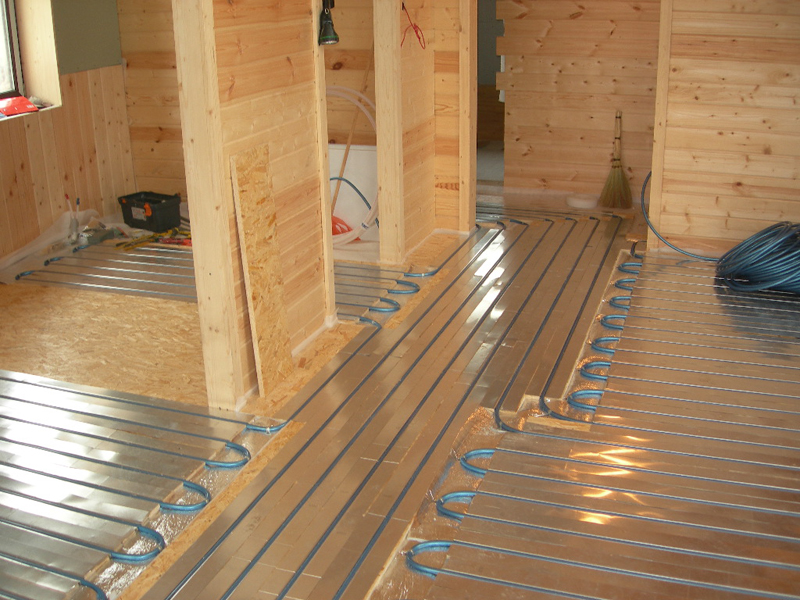
Step 4. Laying the heating cable
Cable laying starts from the place where the power wires are connected to the thermostat. A steel mounting tape is attached to the insulation in increments of 0.5 m. The heating cable is laid on top, usually zigzag, and fixed to the floor with the petals of the mounting tape.

When laying out the cable, you must adhere to the following rules:
- pitch between cable turns - at least 6 cm;
- the distance from the walls to the cable is at least 10 cm;
- distance from pipes and heating appliances - not less than 20 cm;
- bending radius of the coil - at least 5-6 cable diameters.
 between the cables should not exceed 1cm")
Step 5. Mounting the temperature sensor
The floor temperature sensor is placed in a plastic corrugated pipe and placed between the turns of the heating cable. The pipe is pulled from the thermostat to the floor, and then on the floor surface for another 0.3-0.5 m. A plug is placed on the tube hole, on the sensor side, so that cement mortar does not get inside when pouring the screed.
The sensor leads are brought to the thermostat and fixed there. Strobes on the wall are covered with plaster or putty.

Step 6. System Check
After all electrical connections are completed, the system is tested for damage to the heating sections, sensor or thermostat.
Step 7. Screed device
If everything is in order, then you can start pouring screeds with a thickness of 3-10 cm. It is best to use special mixtures for this, which are sold specifically for underfloor heating. After 3 days, it will be possible to walk on the screed and finish finishing, however, it is still not possible to turn on the heating system. It must be at least 28-30 days before the cement screed has completely dried and gained the necessary strength.
Step 8. Finishing Finishing
Tile or porcelain tiles are most often used as a finish coating of a warm floor in a bathroom. However, the specific conditions of temperature heating and high humidity can withstand vinyl tiles, stone floors, and waterproof thermo-wood.

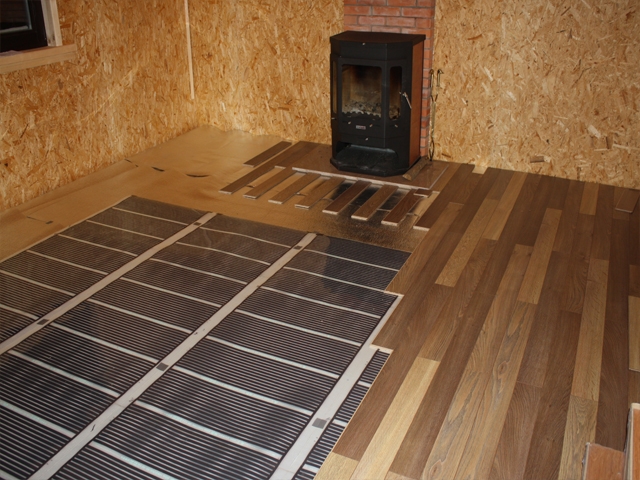
Heating mats - a worthy alternative
This is not to say that the process of laying a warm floor in the bathroom is very difficult. Moreover, this technology can be further simplified by using an electric heating mat instead of a separate cable. This product is a heat-resistant mesh on which a thin heating cable is fixed using a fixing tape.The installation of this system is very convenient: you do not have to lay out the cable yourself, fix it on mounting tapes and withstand the step. Everything has already been done in advance by the manufacturer. In addition, when installing such a system, thermal insulation is not used.

However, electric mats also have drawbacks and they are quite significant. Firstly, the finished heating system is 20-30% more expensive than the traditional "cable" option. Secondly, since the insulation material is not placed under the mats, they are produced with a slightly increased capacity in order to compensate for heat loss through the floor slabs. Accordingly, such floors will consume more electricity.
5 comments