How to waterproof a bathroom floor: brief recommendations for beginners
The bathroom of any apartment or private house is constantly moistened. High humidity leads to rapid deterioration of the structure of the house. In addition, there is a risk of flooding the neighbors from below. To avoid unpleasant consequences in the form of scandals with neighbors and expensive repairs, you can work ahead of the curve and make reliable waterproofing. A variety of modern technologies and materials allows you to choose the best option for the bathroom.
Types of waterproofing
Waterproofing is:
- rolled. Finished insulation material rolled up. It is made of materials on a bitumen basis;
- penetrating (impregnating). The main fillers of such insulation are cement and sand with the addition of silicate glue (water glass). In addition, alumina emulsion, lime and oleic acid can be added to the composition;
- plastering. It is also made on the basis of sand and cement, with the addition of various polymers;
- smear. It can be bitumen, polymer or cement-polymer compositions. Frozen, form a waterproof surface.
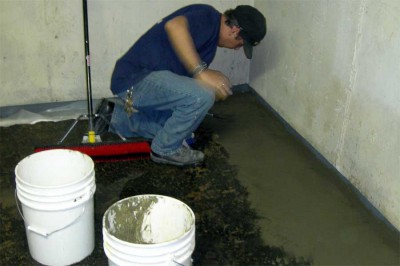
Preparatory work
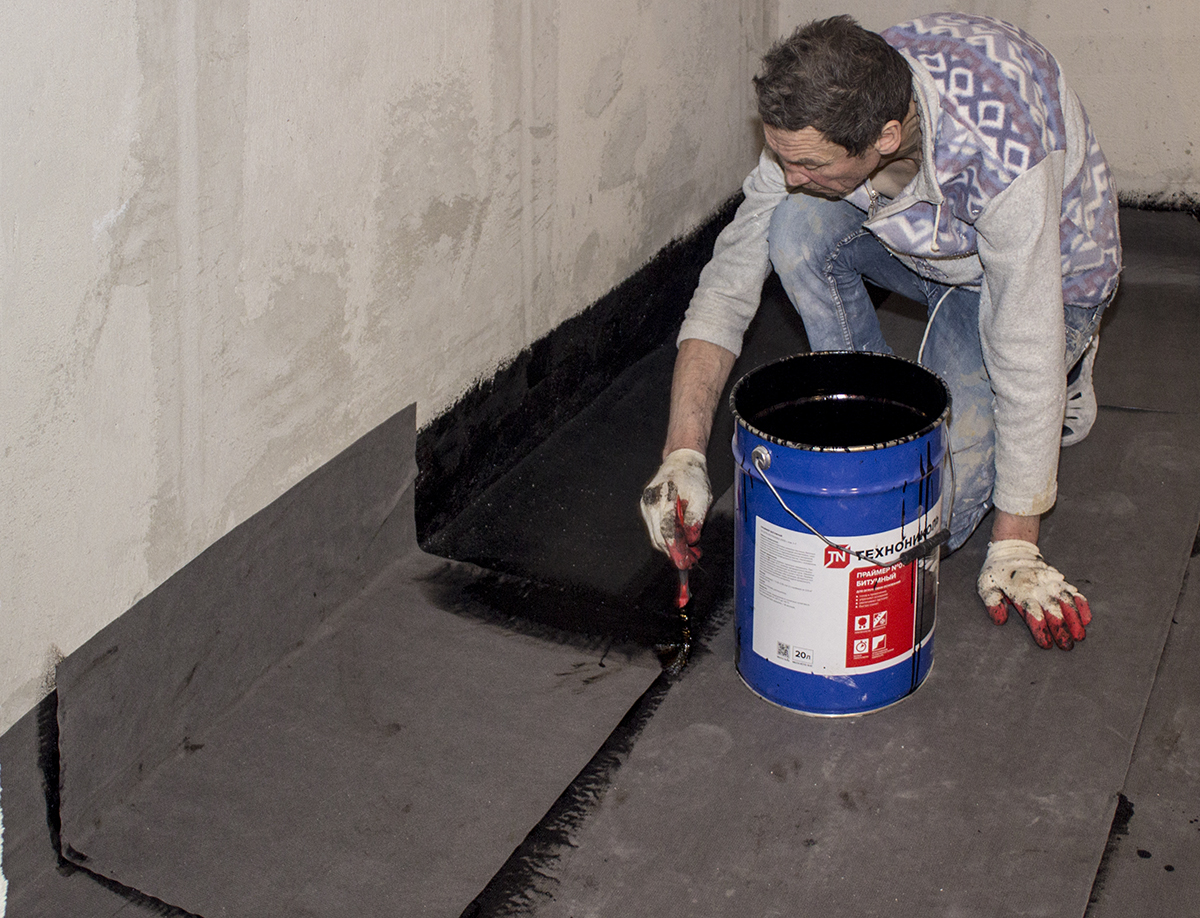
Before applying insulation, preparatory work is required. The bathroom is freed from the old cover. Then it is cleared of construction waste. The concrete base is washed with clean water and thoroughly dried using a heater. Drying may take 1-2 days. Then the surface is covered with a primer. All corners and joints are sealed with a special tape.
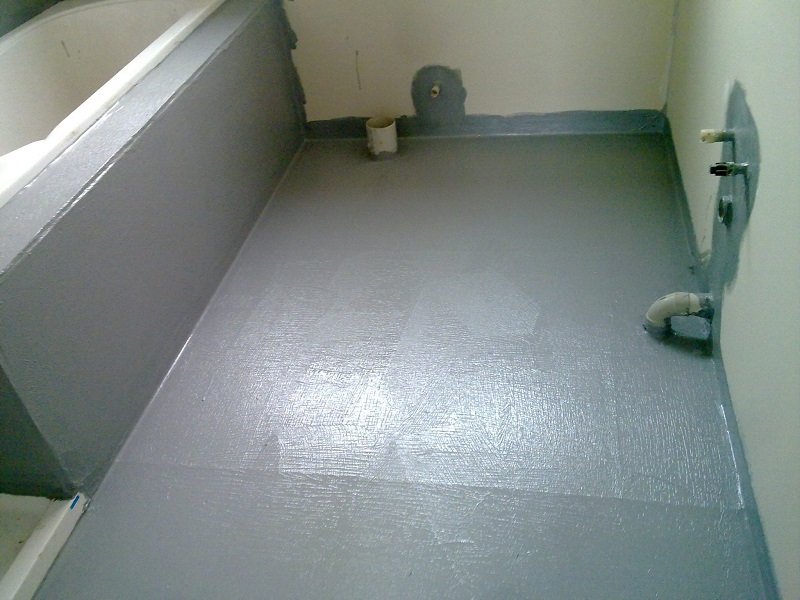
Waterproofing installation
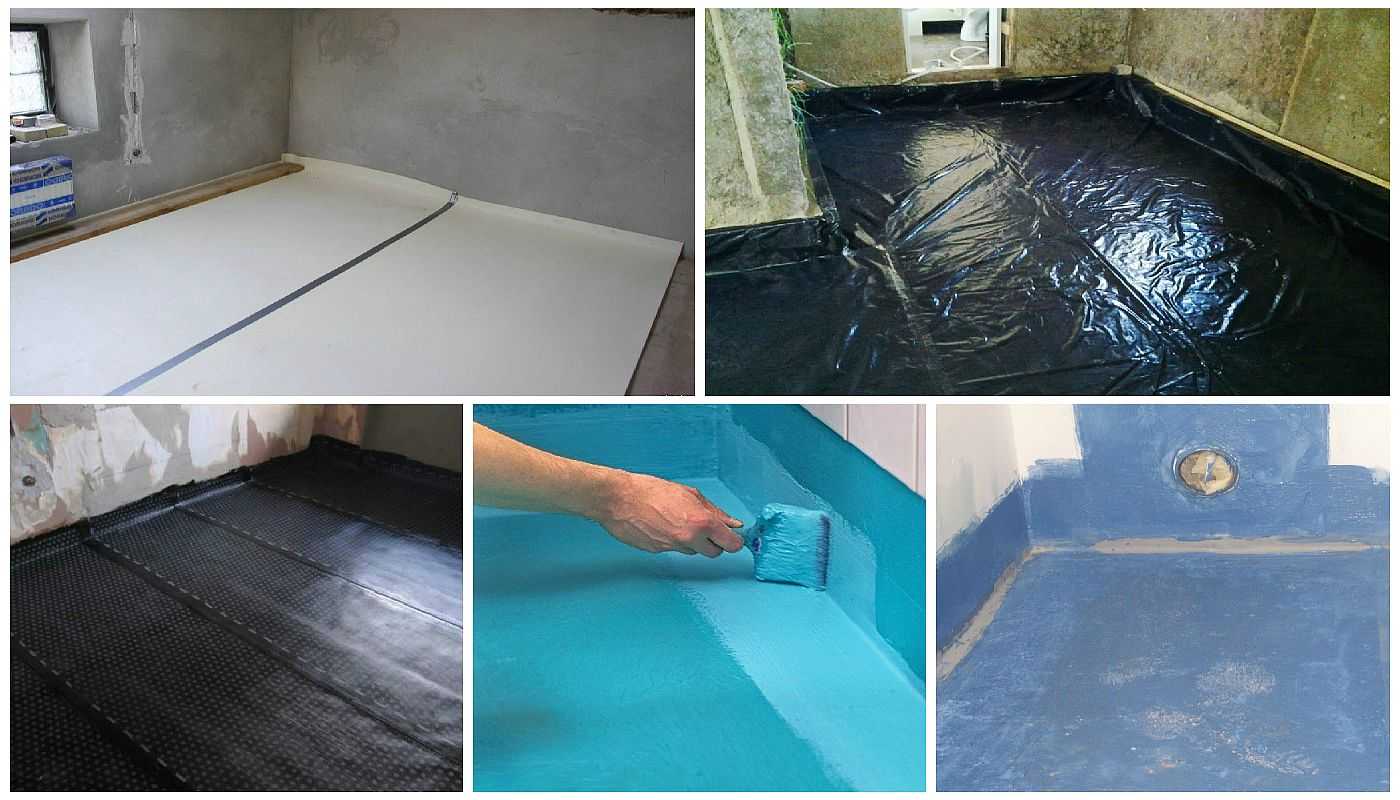
Roll waterproofing. Of the abundance of rolled materials, fiberglass or fiberglass can be considered the most optimal. These are wear-resistant materials, and, therefore, durable. The downside is that when you unwind the roll, they can break.
The most affordable way to apply roll waterproofing is gluing. It does not require the use of special tools and equipment. The insulation is glued using various mastics or adhesives. This creates additional protection. Rolls roll out. The material is cut into pieces of the desired length and treated with solar oil. During the day, the material must lie down to straighten. The base is coated with a bonding material and waterproofing is laid. Laying is done with an overlap of about 10 cm. The edges of the insulation with a width of 15 cm are laid out on the wall. If bubbles form on the coating, they are notched, smeared with glue and smoothed. For better adhesion to the next layer, the insulation can be coated with mastic and sprinkled with sand.
Penetrating waterproofing. The finished mixture is applied to the prepared surface with a roller. The solution should be diluted in small doses, given that after forty minutes it will harden and become unusable. The insulation is applied in two layers. The second layer is applied when the first is dry.
Plaster waterproofing. The finished mixture is applied in two to three layers. Each layer is laid perpendicular to the previous one. The layer thickness should be at least 2.5 mm. Before applying the next coat, let the previous coat dry.
Coating waterproofing. Mastic is applied in two layers. The floor and the wall are covered by 15-20 cm. Then the fiberglass mesh is placed and a third layer of insulation is applied.
All waterproofing materials are good in their own way. Each has its pros and cons.Choosing the right option for your bath, you need to proceed from your capabilities. But it should be remembered that any insulation will work well only if all the requirements were met during its installation.