How to make an apron for the kitchen with your own hands: seven popular finishing materials
At the word "apron", many people first of all have associations with a piece of clothing. In fact, a kitchen apron is called the surface above the working area, which protects the walls from dirt and traces of cooking and should be resistant to temperature extremes, water and other types of influences.
Content
Pros and cons of using laminate for a kitchen apron
Most are used to using laminate flooring exclusively. However, in recent years, designers are increasingly using it in other places, because the result is inexpensive and high-quality. But such a popular finishing material has its advantages and disadvantages.
The pluses include:
- ease of cleaning - just wipe it with a soap or chemical solution to get rid of any impurities, and it will not lose its properties, will not deteriorate externally;
- ease of installation - the laminate is laid quickly and seamlessly, leaving little dirt and debris;
- moisture resistance in moisture resistant laminate;
- strength to mechanical damage, durability;
- low price;
- wide range and ability to imitate almost any material;
- composed of environmentally friendly materials.
The disadvantages include instability to high temperatures (that is, the laminate can not be placed close to the plate, otherwise it quickly deforms) and moisture if the material is unspecialized. For the rest, this is a great option for decorating a kitchen apron.
Which laminate to choose
There are several types of laminate, differing in composition and installation method:
- Chipboard - durable panels that are mounted without crate. Unstable to moisture and require a special profile during installation.
- MDF - inexpensive, can be installed on any type of lathing, but, like chipboard, have low moisture resistance.
- Floor - quite durable and suitable for coating on the wall. It is mounted either on the crate or on a wall with a flat surface.
- Laminated hardboard - has a high density and is resistant to moisture, is installed on the crate.
For a kitchen apron, it is recommended to choose a laminate with high resistance to moisture, strength 31–32 class and not afraid of high loads. It is desirable from environmentally friendly materials.
When choosing, it is worth considering the shade of the laminate. It should fit the style of the kitchen itself.
Mounting Methods
There are two ways to install the laminate: adhesive (the laminate is mounted on a bare wall) and with a crate (fastened to a pre-prepared structure). You should not start work immediately after purchasing the material, it should "get used to" the conditions of the apartment (humidity, temperature). It is necessary to maintain the laminate indoors for 48 hours. Otherwise, the material may become deformed after installation.
Before installation, it is necessary to remove all furniture and decoration and polish the surface of the wall with putty. There should be no switches or sockets on the wall.
To lay the laminate, you will need tools:
- hand saw or jigsaw;
- hammer;
- Ruler and pencil;
- building level;
- electric drill;
- wooden block;
- wooden slats (for lathing);
- silicone or liquid nails (in the case of the adhesive method);
- screws, nails.
With a crate
First of all, you need to create a design. Lathing bars should not exceed 4x4 cm.
Work order:
- Using dowels, fasten the bars at a distance of 30–70 cm from each other and at least 2 cm from the floor.
- Check that all elements are at the same level.
- Proceed with laying panels from the lower right corner. During installation, the laminate sheet should rest on the crate.
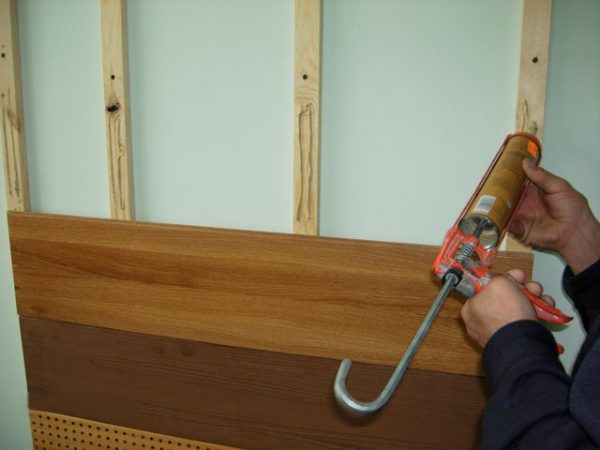
 Panels can be attached to the crate using liquid nails.
 - Press the next panel into the end groove to the first at an angle of 45 °.
- Continue to mount the rows up.
- Fit the panels to each other (you can use a hammer), fix the laminate with screws.
Without crate
For this method, the wall should be perfectly flat. This must be verified by checking its level, and in case of any irregularities, level it, for example, using cement-sand plaster or drywall.
To fix the laminate to the wall on liquid nails with lock-locks, they begin from the very bottom of the surface, while the panel is positioned so that its comb is located at the top. If panels with click locks are used, then they are mounted, on the contrary, with a groove up, and the comb located below is pre-cut with a jigsaw or circular saw with a fine-toothed disk.
Then you can proceed with the installation:
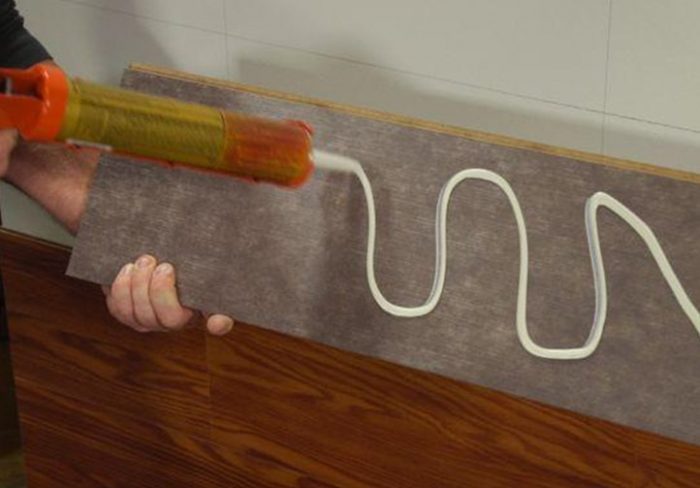
- Apply liquid nails to the first panel, then press it firmly against the wall and temporarily press heavy objects with improvised objects.
 Liquid nails are applied to the back of the panel in the form of a snake, avoiding the adhesive on the locks
 - The second and subsequent panels must be fixed to the wall after 1-2 days, since the first panel will serve as an abutment for all subsequent ones and it should dry well. At each panel, you need to process the ends and groove, then carefully attach the next panel to the left of the first at an angle of 45 °, connecting them. Moving in the same way, from right to left, from bottom to top, glue the second row.
- Wait 1-2 days again.
- Continue installation. If cracks form, they must be treated with a hermetic.
- Before fixing the last laminate panel to the wall, it is pre-sawed in length in accordance with the existing gap.
It remains to wait until all the glue has seized.
It is important to remember that when you try to complete the work in one approach, for example, when gluing panels in the middle of the wall, the lower laminate can move away from the wall.
How to make an apron for the kitchen from other materials
In addition to the laminate, there are other options for materials for the kitchen apron:
- Acrylic. Durable and lightweight material, resistant to high loads, it is difficult to stain and easy to clean. The coating is very high quality, but expensive.
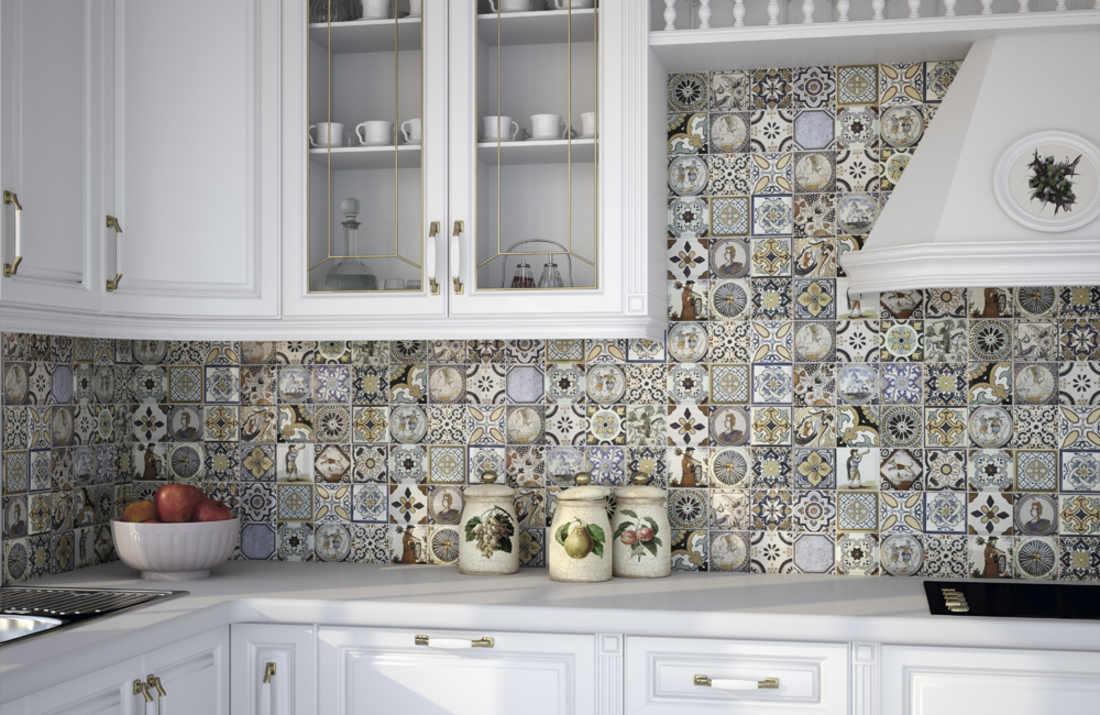
- Ceramic tile. Smooth tiles are suitable, which can be easily washed. A wide range, durability and strength, adequate price. Of the shortcomings, perhaps the need for a perfectly smooth wall for application.
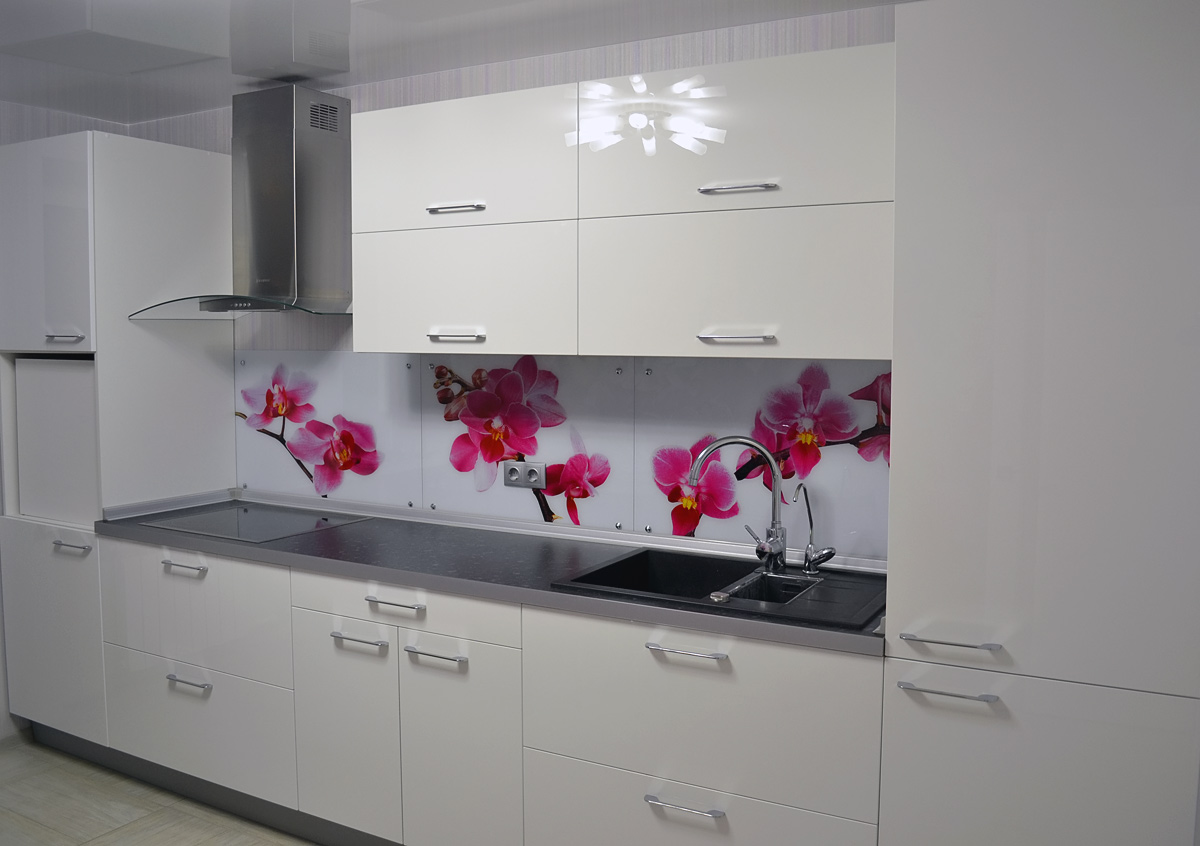
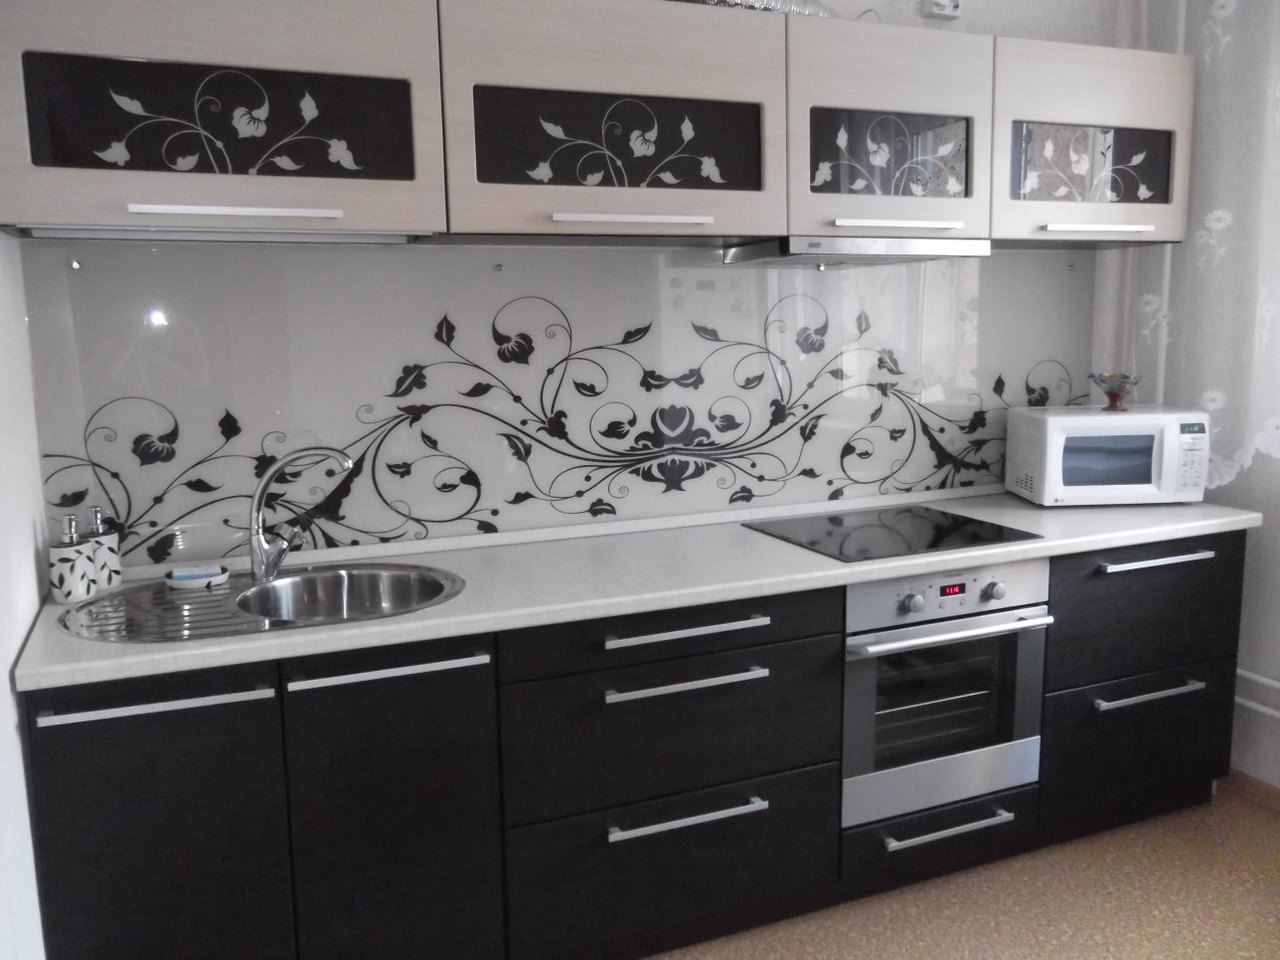
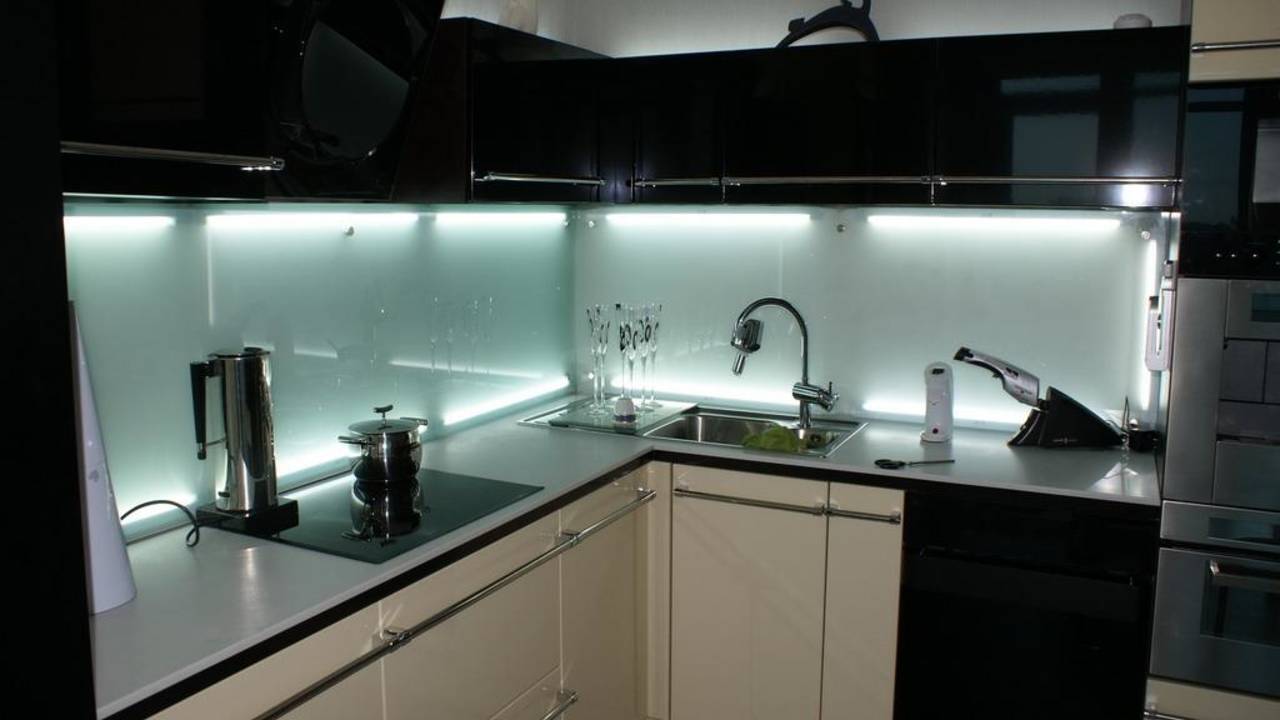
- Glass. Unusual solution.You can make any design, even come up with your own, glass panels will suit any style of interior. High stability, easy to wash, but the material is not cheap.
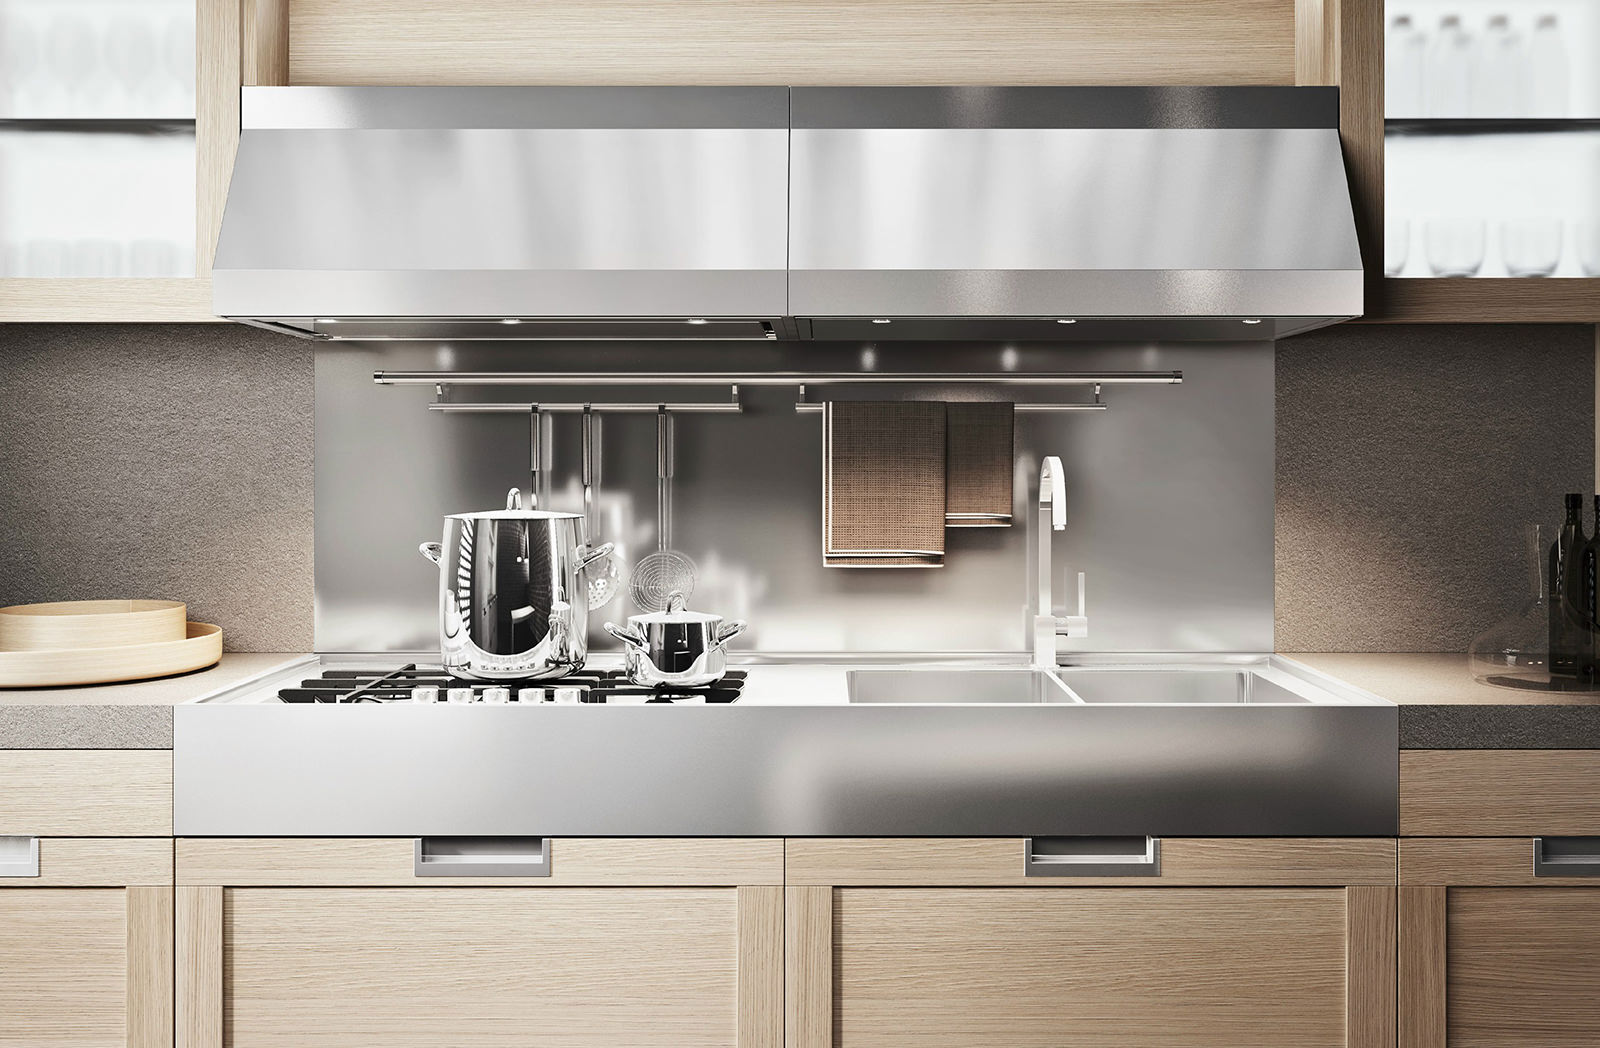
- Stainless steel. This material requires careful care, but it is really durable, resistant to moisture and temperature extremes.
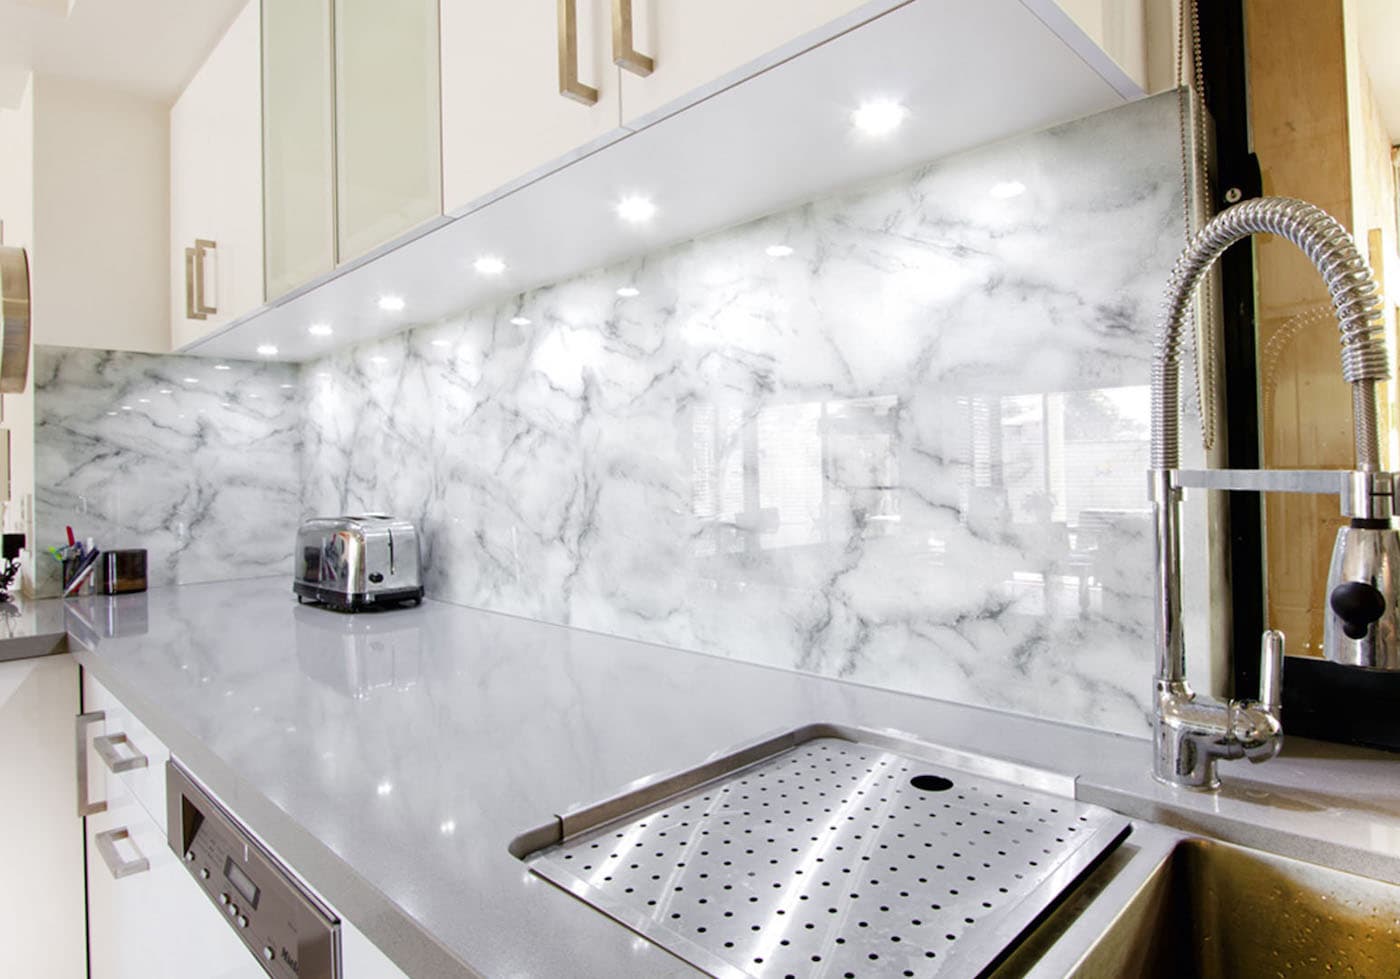
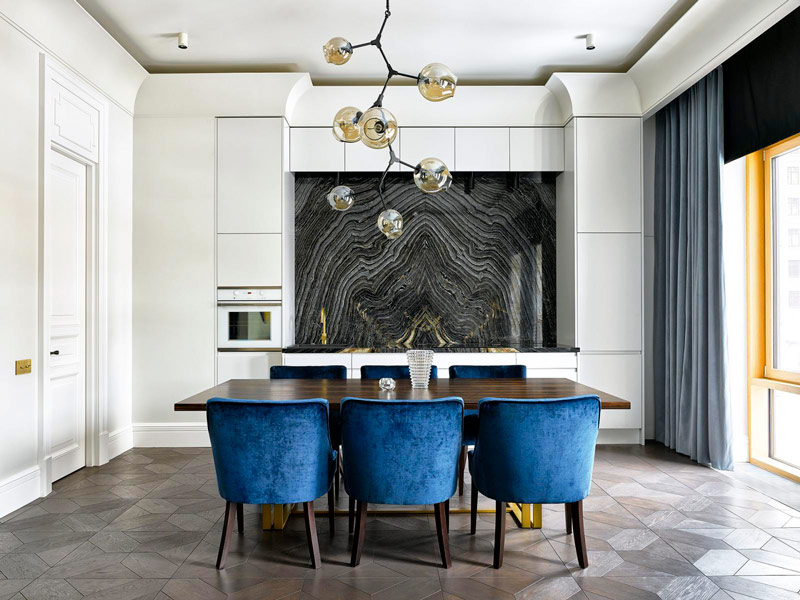
- Natural and artificial stone. It includes granite, marble, etc. They are durable, not afraid of fire and temperature changes, they are not afraid of dirt (except, perhaps, marble). But the price of this material is quite high, although it looks beautiful.
When choosing, you must also consider how this material fits into the overall interior. For example, a traditional apron made of steel may not be suitable.
Tools and wall preparation
Having decided on the material, you can proceed with the installation. You will need the following tools:
- screwdriver;
- roller;
- roulette;
- level;
- electric drill;
- liquid Nails;
- self-tapping screws;
- dowels;
- stubs;
- putty knife;
- nails
- wood screws.
First you need to prepare the wall. First you need to determine the dimensions of the kitchen apron, the standard ones are 65–75 cm, and this is the area that needs to be prepared: ceramics, glass — knock the plaster down to the base and refine it to perfectly even, organic materials — wash off the paint and smooth the plaster well. It is necessary to putty the irregularities and cover the surface with a primer layer. Almost any apron needs support in the form of a crate, so first you need to install it.
Installation of a kitchen apron from a tile
The laying process should be clarified for a specific case, since it depends on the material used and the desired method.
How to make an apron from a tile:
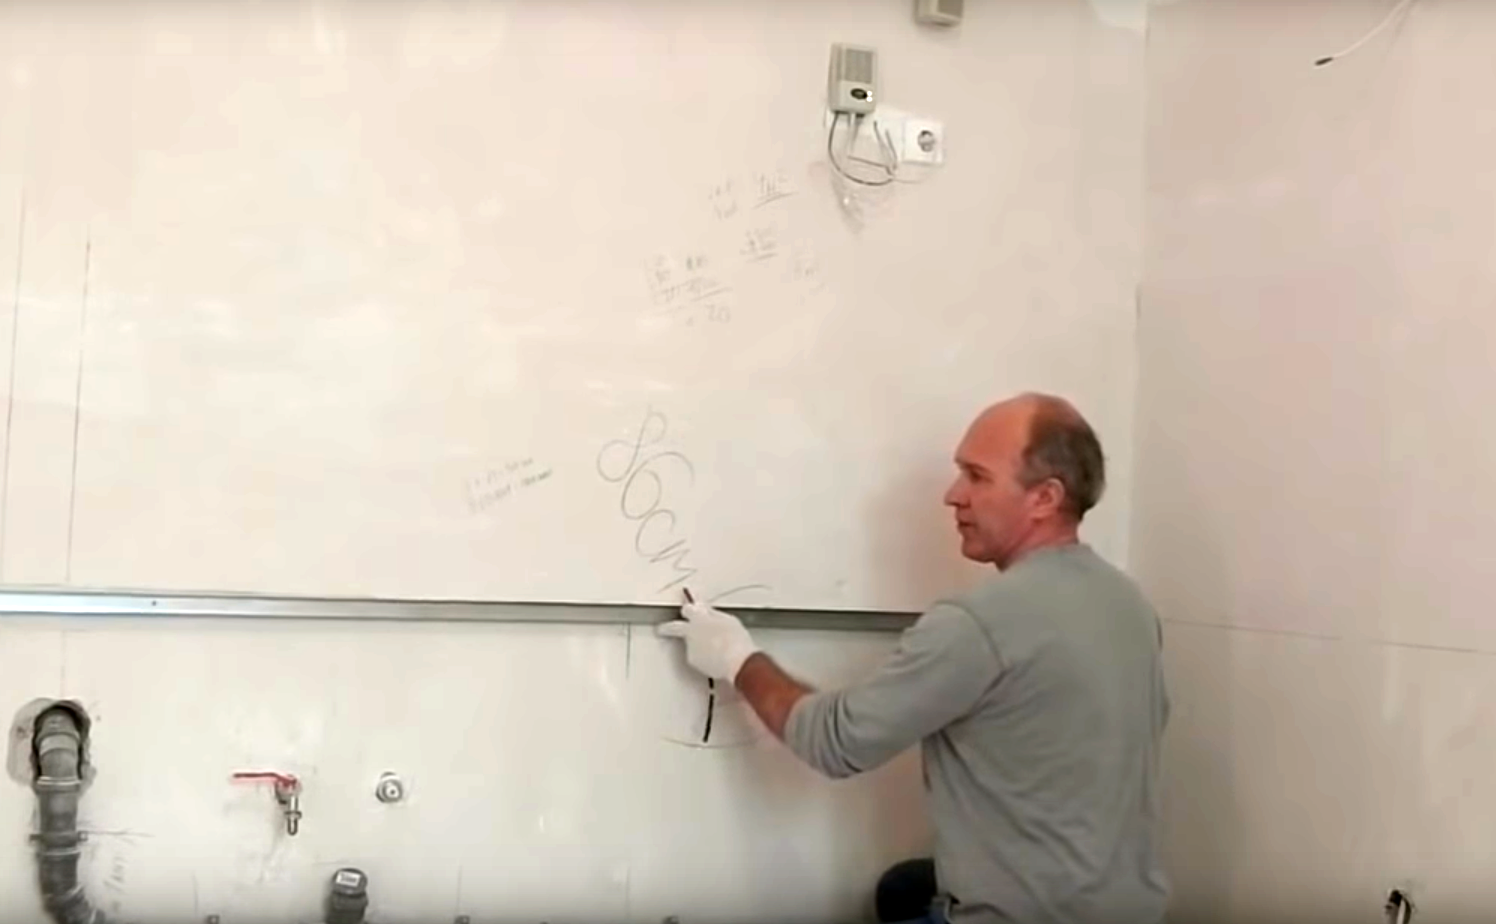
- Lay the wall profile under the bottom edge of the kitchen apron (the standard distance of the countertop from the floor is 86 cm), be sure to check the level.
 A profile is needed to support the tile - otherwise the glue will not have time to freeze, and it will slip
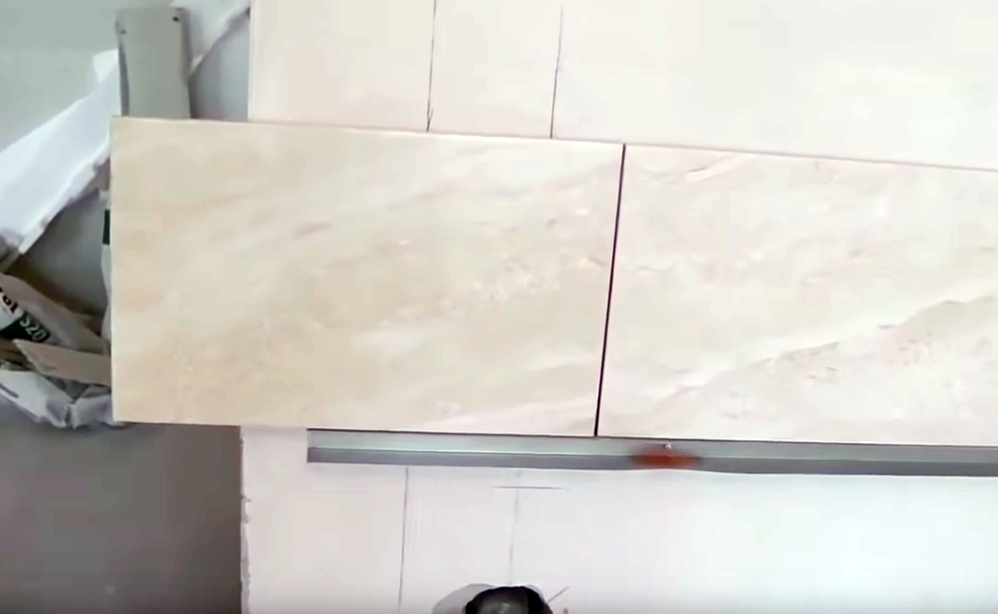
 - Calculate where to start laying tiles from the middle of the wall or edge. The most important rule is that at least two thirds of the whole tile (at least half) remain on the trim from the edge.
 A piece of tile from the edge should not be evident
 - Apply 2 coats of primer, each of which should dry well.
- Apply glue to the back of the tile and stick it to the wall, check its placement by level. After 10-20 minutes, the glue will set.
- After 2–5 minutes after this, proceed with the installation of the first row, strongly pressing the tiles to the wall. Tiles of the first row are divided by crosses along vertical seams.
- Align to top edge. Wait for the glue to set.
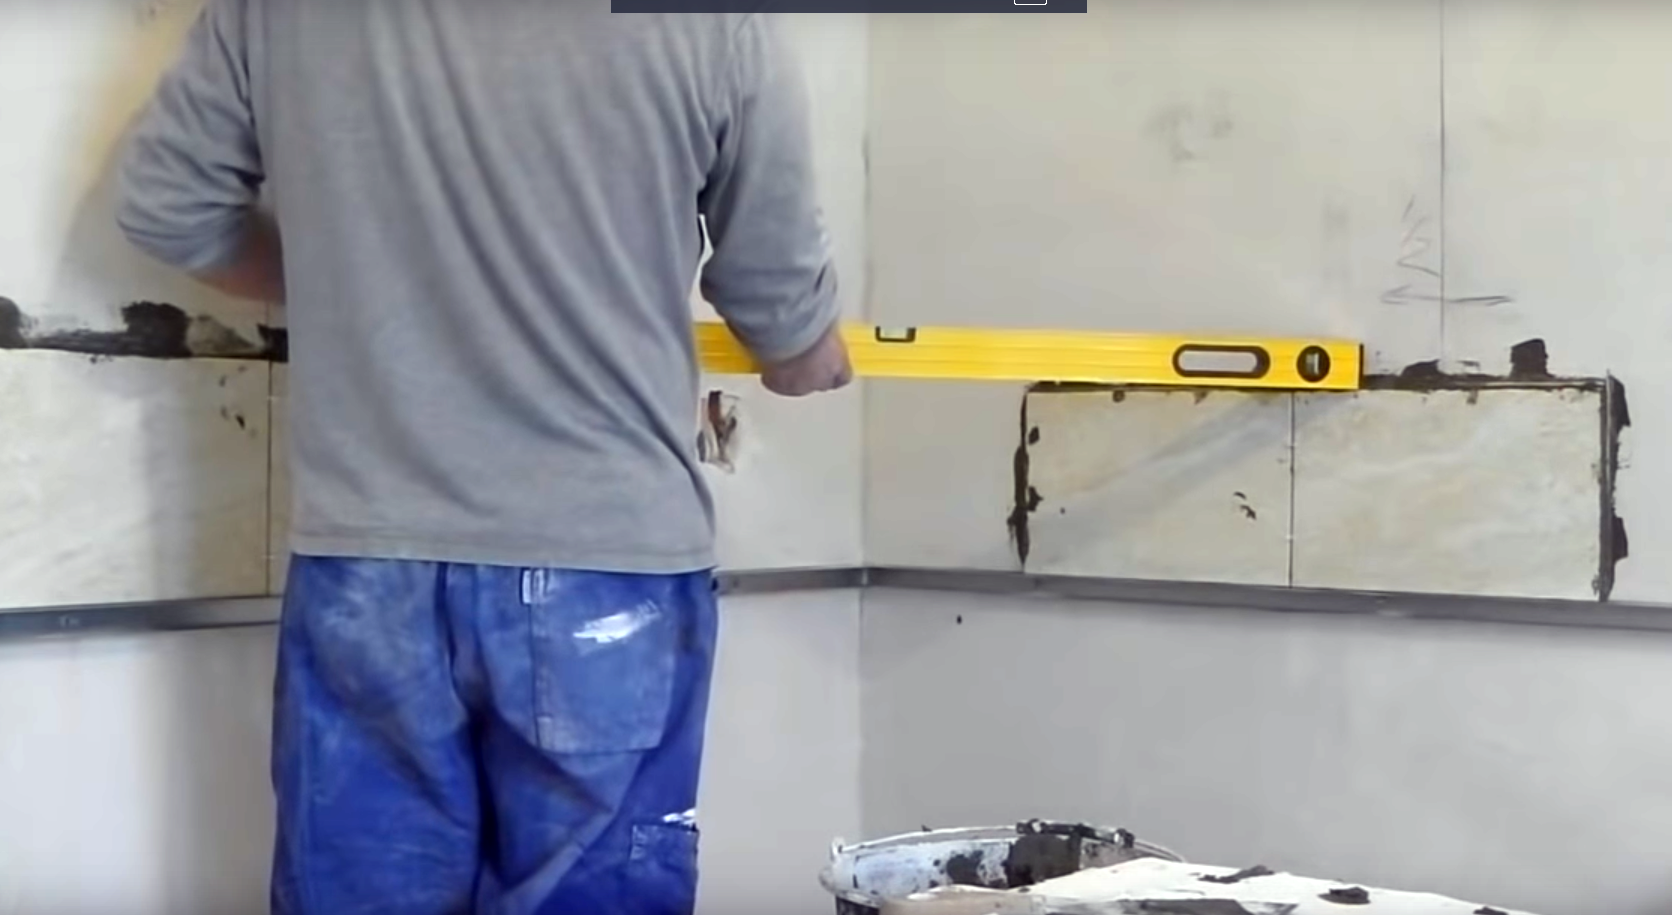
 Be sure to check how the tiles of one wall lie relative to another
 - Proceed with laying the second row in the same way. Do not forget to clean the inter-tile seams with a spatula and install crosses.
- Lay each next row in the same way.
Video: how to make an apron in the kitchen yourself from tiles
Glass apron mounting
In this case, screws with wide caps are used. It is better to entrust the work to professionals, since it is difficult to drill such material, it can be damaged.
Video: DIY glass apron
Video: installing a glass apron with photo printing and backlight
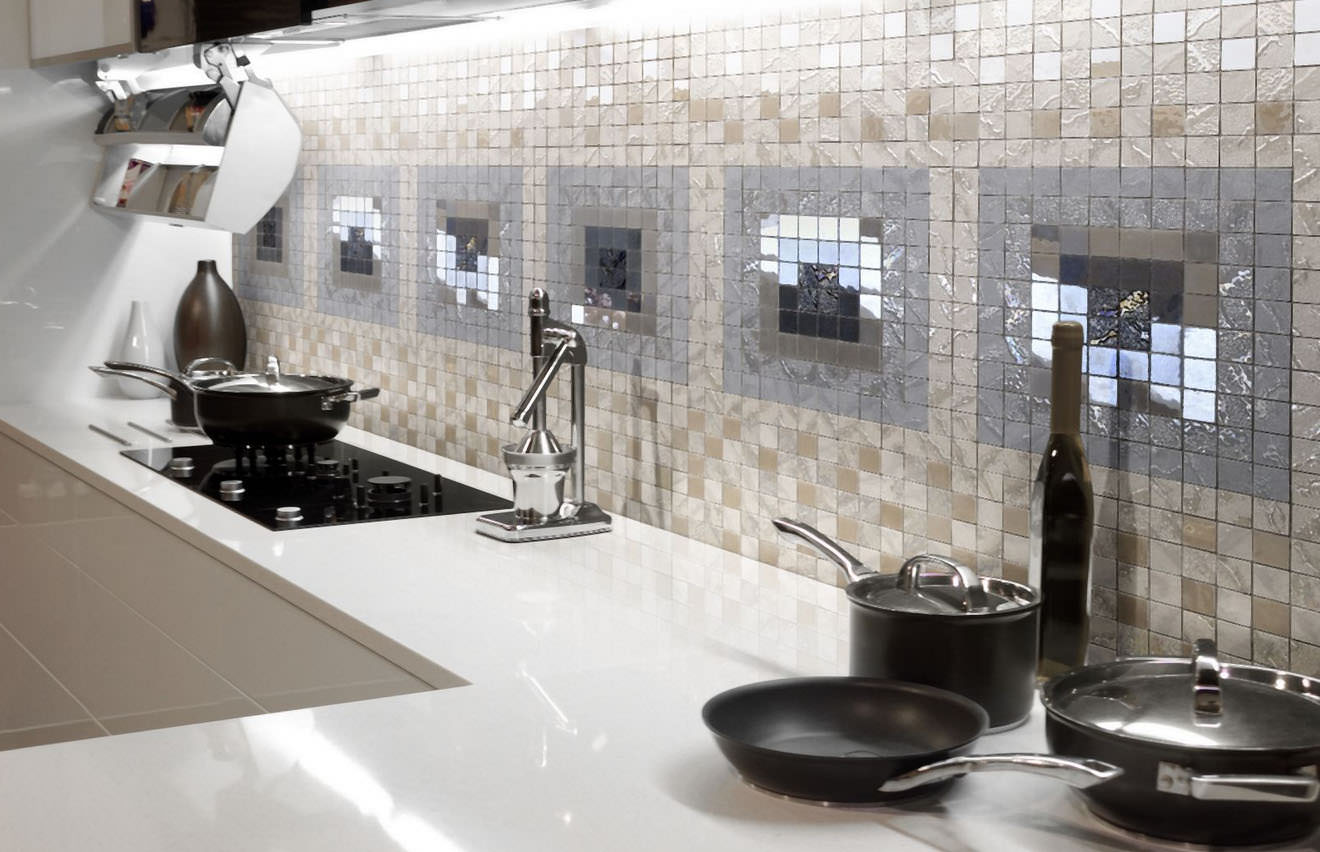
Mounting a mosaic apron
It must be laid in a similar tiled manner, but not on glue, but on a gypsum-cement mortar. It is better to use squares from the mosaic, it is much simpler and faster than gluing each tile separately.
Video: do-it-yourself mosaic kitchen apron (part 1)
Video: do-it-yourself mosaic kitchen apron (part 2)
How to care for a kitchen apron
After installation, the apron must be cleaned of dirt: it is enough to rinse it with water or detergent if necessary. In the future, clean in the same way.You can use industrial soda, it wipes off almost any dirt and has a whitening effect (if the apron suddenly darkens).
The most difficult to wash the seams, they clog the dirt much more often. This will help bleach or lemon juice. The solution must be sprayed on the seams from the spray gun, left for half an hour or an hour, and then rinse with plain water.
Too often washing the apron is also not worth it, otherwise it may lose its properties over time.
If scratches appear, you can polish them with a wax pencil. Wax can also be used as a preventive measure, applying it to the entire surface of the apron for additional protection. For deep scratches, a special putty should be used.
What style are the materials suitable for?
When choosing, do not forget that different materials will look different depending on the interior.
Acrylic blends well with both traditional and contemporary styles.
Acrylic apron makes it possible to change the picture in accordance with changes in the overall interior of the kitchen.
Ceramic tiles are more suitable for traditional and classic kitchens. Do not pick up light tiles to light seams. The most successful option is a “boar” format tile, it will fit almost everything.

At the moment, there is a large selection of ceramic tiles in colors, themes and textures. In addition, in the tile collections there are options with beautiful patterns and unique panels.

Natural or artificial granite is often laid in the form of tiles. Marble, though expensive, looks very beautiful in any interior (it is better to choose dark shades, especially if the kitchen is bright). The same applies to quartz agglomerate.
An apron made of stone is selected for the kitchen from expensive materials, this type of material does not tolerate MDF facades.
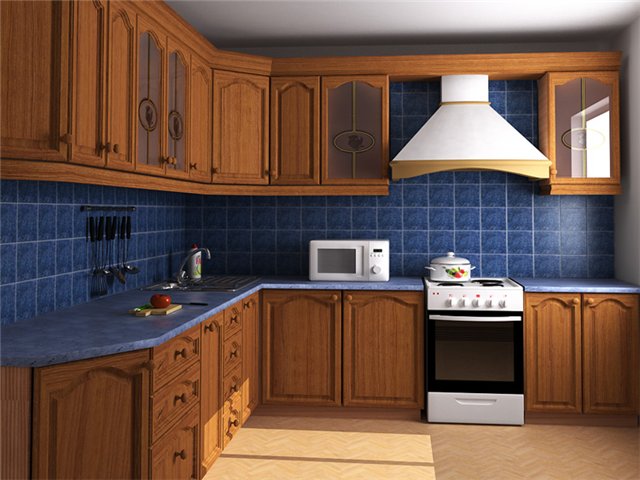
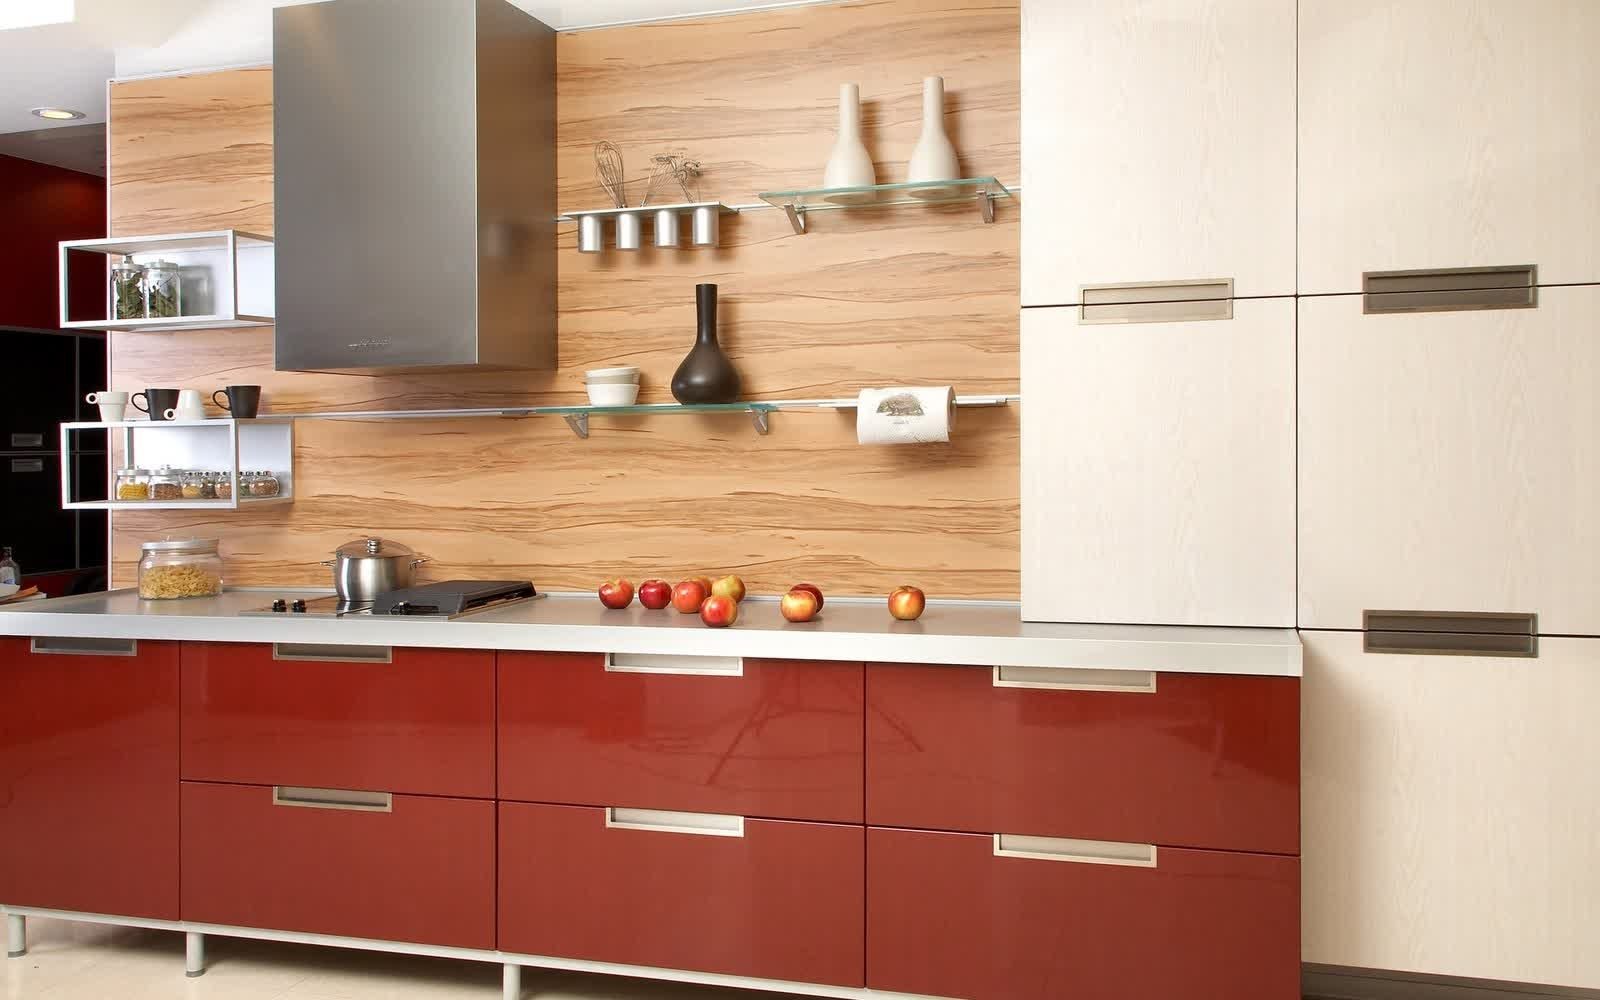
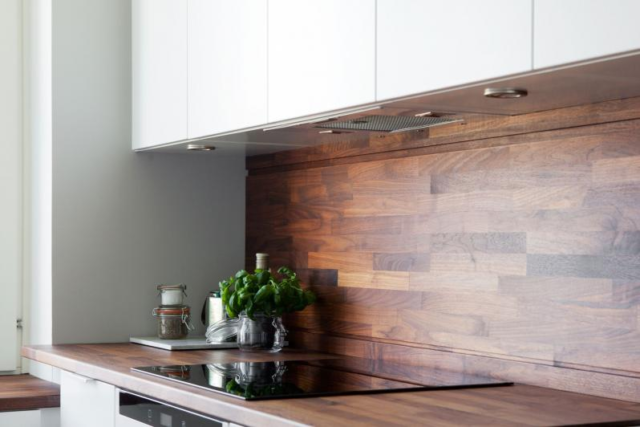
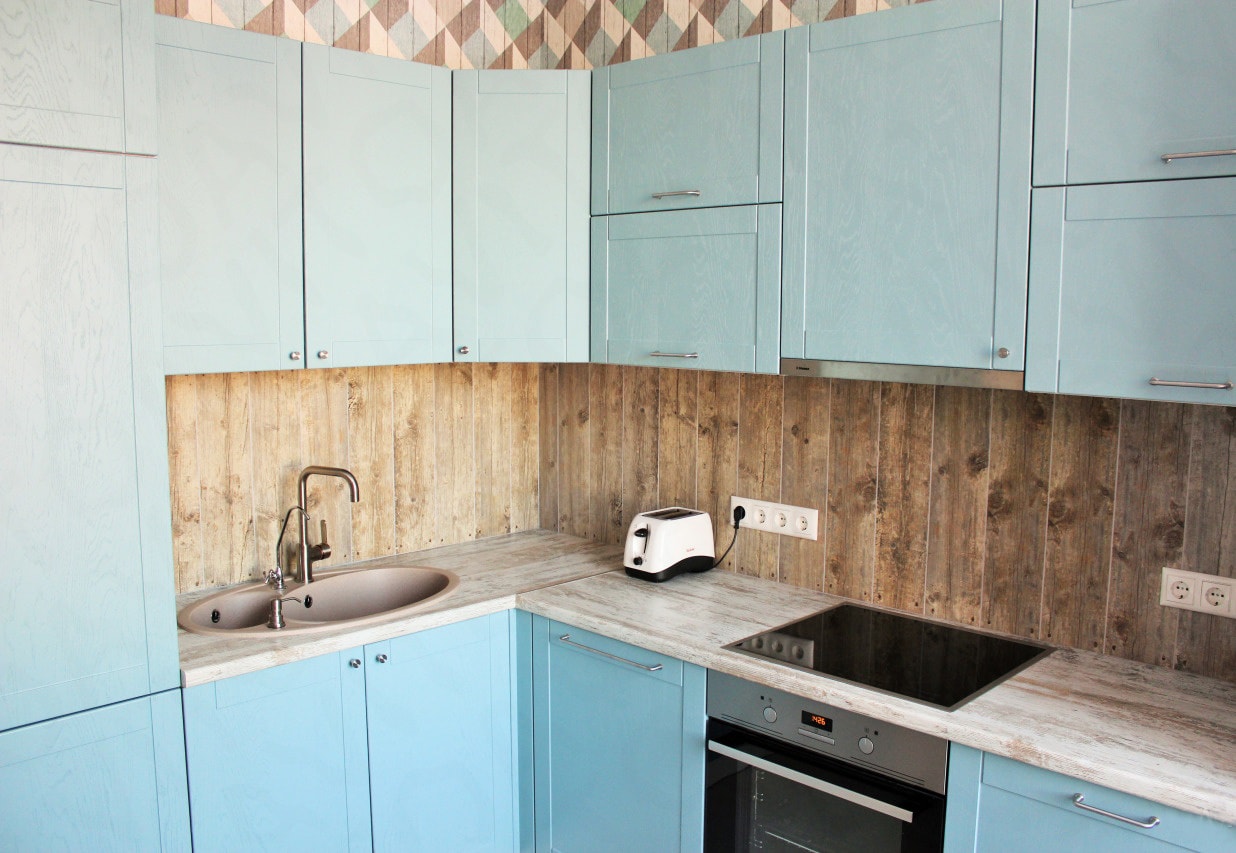
Laminate can be combined with both modern and traditional cuisine. Panels made of antique parquet are more suitable for classic designs, while imitation of natural wood is more suitable for hi-tech kitchens.
Glass is a universal material suitable for any modern style (Scandinavian, neoclassical, art deco, modern, minimalism, loft, hi-tech), and it also allows you to use photo printing.
Stainless steel is more suitable for a high-tech kitchen.
Mosaic can be made of different materials. To save it, it can be combined with ceramic tiles.
The installation method depends on the selected material, so first you need to choose the one that suits the interior, and then delve into the details of installation. Making a kitchen apron is not an easy job, but if you make the proper effort, the result will protect the wall for a long time.